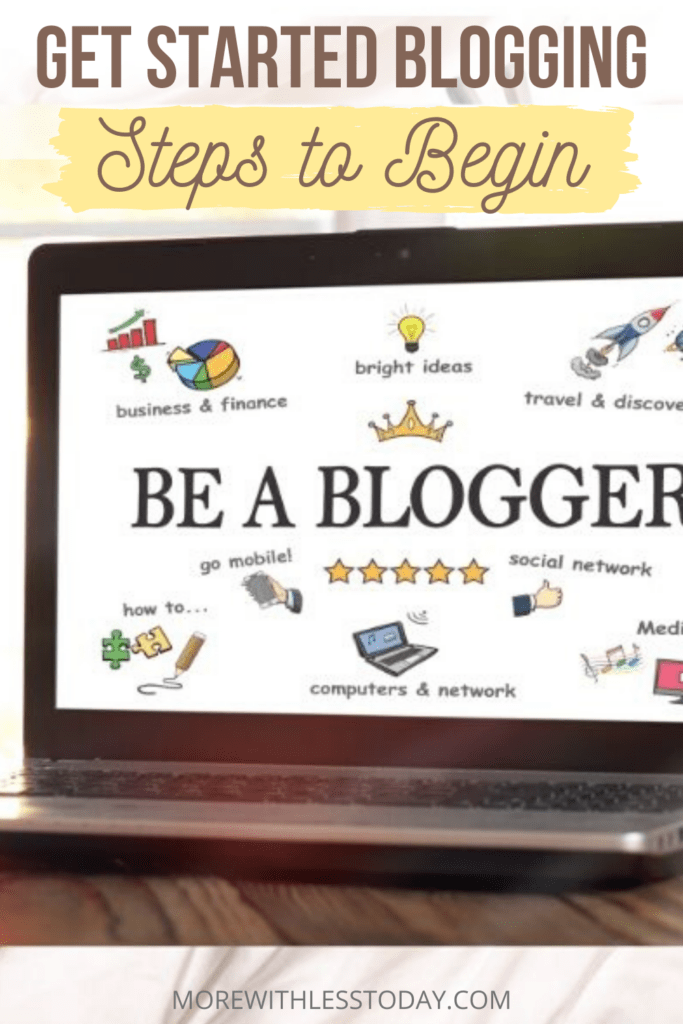
Blogging is a fun and rewarding side-hustle and if you love it as much as I do, it can be a full-time income. It won’t happen overnight but if you’ve been wanting to get into blogging, start here! This is how to start a blog from scratch.
Have you heard about people making money from home by blogging? Even though it’s a lot of work, it’s also very rewarding. When I first started blogging, I had so many questions. If you are like me, then you probably have lots of questions too. That’s why I’m putting this guide together. With more than 10 years of experience blogging, I want to help you start your very own blog too.
Navigate This Article
How To Start A Blog
I get lots of questions from readers, friends, and family. They ask me things like “how do you start a blog?” “How do you make money blogging?”
It does take time to set it all up and create something that people use as a resource. Even so, it is definitely possible to start a blog and make money from it!
In this guide, I’ll walk you through the very beginning steps of starting a blog. After you get it started, the real fun begins – learning how to reach more people and increase your page views.
But first, let’s set it up.
Pick A Topic
The very first thing you need to do is decide what your blog is going to be about. The more specific your or topic is, the easier it will be to become known for that content. Choose a topic you have an interest in or expertise and you must love the topic and never tire of talking about it! Take time to search to see what already exists in your niche. Sign up to get their newsletters and see what others are writing about.
Choose A Platform
Next, pick out where you are going to set up your blog. There are lots of free places – Wix, Blogspot, wordpress.com – but in this series I’ll be sharing how to set up a self-hosted WordPress.org blog.
There are many reasons I suggest using a self-hosted WordPress blog from the start. It is the platform that will give you access to thousands of plugins that the free version doesn’t have. A plugin is a tool that works with your platform to help you to work more efficiently. I’ll cover my favorite plugin for bloggers in my next post.
Plus, when you are self-hosted, you have more ways to monetize your blog.
Don’t be intimidated by the setup process. The entire process of registering and installing your website should only take like 20 minutes from start to finish. You’ll be ready to hit publish in no time at all!
Register Your Domain Name
After you have a topic, select the domain name for your blog. You can search at GoDaddy for free to see if the name is available and what other versions of the name are available.
I’ve used GoDaddy to register this domain since I began in 2009. They have great customer service and they are also the largest domain name registrar in the world.
Give lots of thought to your domain name. If you pick a name that you grow out of in a few months or a year, changing it (also known as “rebranding”) involves lots of time and money. It’s a better idea to pick a name that you’ll stick with for a very long time.
While you are buying your domain name, I recommend buying the domains of other versions of your name too. This will prevent a competitor from buying those domain names to dilute or pirate your ideas. For example, this blog is MoreWithLessToday.com – so I also purchased .net, .co and .online.
Pro tip- When you set up your GoDaddy account, you’ll be asked to make a 4 digit PIN. Keep that PIN number somewhere safe or make it easy to remember. That’s the number you’ll use whenever you contact customer service.
You can also purchase your domain name through Bluehost, however, I’ve used GoDaddy and it was easy to change hosting companies as I did when I outgrew my first hosting plan.
Set Up Hosting
Now is the fun part. A host is a company that will store all your files for your blog. The one company that I tell new bloggers to start with for hosting is Bluehost. They are the best hosting company when you start out because they have affordable hosting options and 24/7 customer service.
I suggest starting out on the Bluehost basic plan. If you are going to create multiple websites, you’ll have to upgrade to the Plus Plan.
After you pick out your plan, enter the registration information for your new domain name. If you bought your domain through GoDaddy (or somewhere else) you can register it for BlueHost by using the “I have a domain name” option.
You can also purchase your domain name through Bluehost, however, I’ve used GoDaddy and it was easy to change hosting companies as I did when I outgrew my first hosting plan.
Then, add your contact and billing info and pick out the package you want.
Should you get domain privacy protection? Yes, I recommend it. It will keep your registration information private and protects your address and phone number from becoming public record.
Submit your payment and done!
Now you own your domain name and your own hosting plan! Now it’s time to set up your new blog.
If you know you are going to have a large following right from the start, or if your blog will be part of a large organization, you can also look at WPEngine for hosting. When I outgrew Bluehost, I moved to WPEngine.
Install WordPress
This is a really quick step, but I wanted to call it out so you don’t miss it. Just follow these steps:
- Log into your BlueHost account and click on “hosting.” Keep scrolling until you see a box named “website.”
- Click, “Install WordPress.” This will start the installation process. Click the big green “Install” button.
- Select your domain name from the drop-down menu.
- Click the “Check Domain” button.
- Agree to the terms and conditions and click “Install Now.”
Using WordPress
Begin by logging in to your website by visiting your login page. Your domain name will look like this, https://www.yourblogname.com and you add wp-admin after that to look like https://www.yourblogname/wp-admin.
You will use the username and password you created during the install.
Once logged in, you will be in the dashboard which is where the organization of your blog is located.
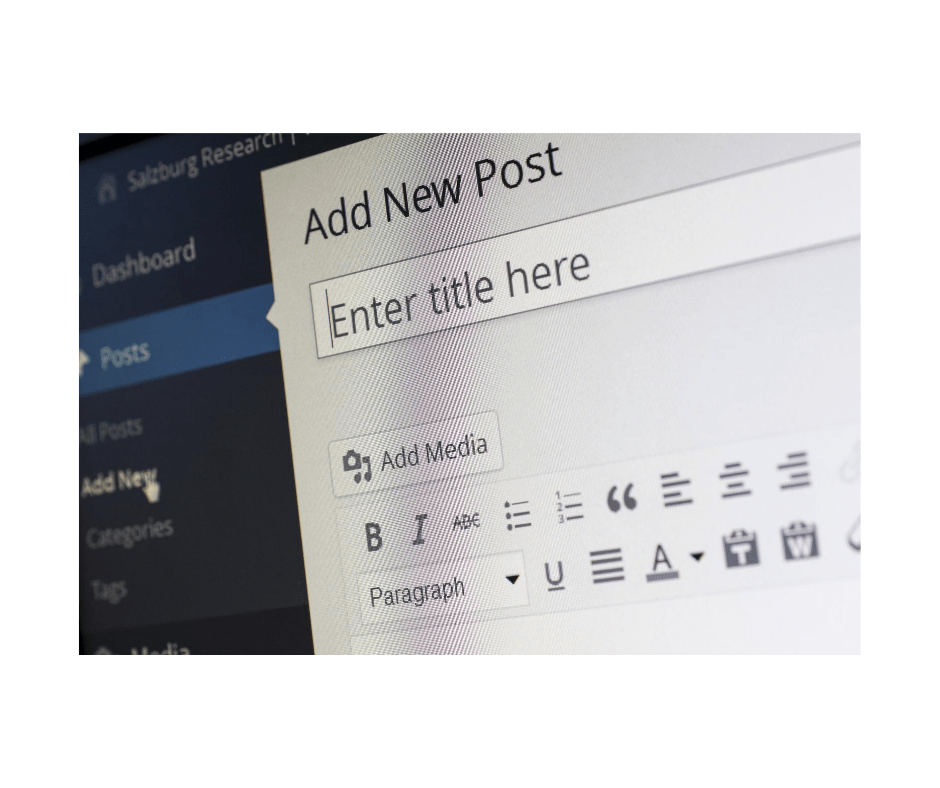
Practice adding new posts using the “Add new” tab on the left side. Simply save it as a draft until you are ready to publish. WordPress uses are switching to a new version called Gutenberg. If you are just starting out, watch YouTube videos related to getting started with Gutenberg and get familiar with the block features. I am in the process of converting my posts to the new format so you have the advantage of learning it from the start!
Design Your New Blog
After you have WordPress installed, you are ready to add your theme which is the design of your blog. This step could have its own blog post, but to keep it simple, a very popular place to purchase a blog theme is from Studio Press.
Click on Shop Theme Packages from the top of their navigation bar. You don’t need Genesis Pro – that is for developers who will be building out many blogs and want access to all of the Studio Press themes. You just need to choose the one that has the layout that you like for your blog.
You can also hire someone to install your theme if you need a little more help. Restored316 can install a professional-looking theme for you.
Set Up Social Media Accounts
After your blog is all set up, go and register your social media accounts with the same name as your blog – or as close to it as possible. Even though you might not want to start posting to them yet, at least snag your name before someone else does.
The main accounts you need to set up are:
If you plan to use video, you should also consider setting up either a YouTube and possibly a TikTok account.
You also need to create a system for remembering all your logins. Some people like using LastPass. I worry about security so I keep all my logins in a notebook at my desk.
PlugIns and Resources
Once you have your blog set up, I wrote a follow-up post outlining the plugins and services I use to blog more efficiently.
Final Thoughts
There is always something new to learn. And then once you master something, there will be something to change! That is what I have learned over the years. Don’t be intimidated. Just take it step by step and get started and enjoy the journey.
PIN for Later:
Leave a Reply