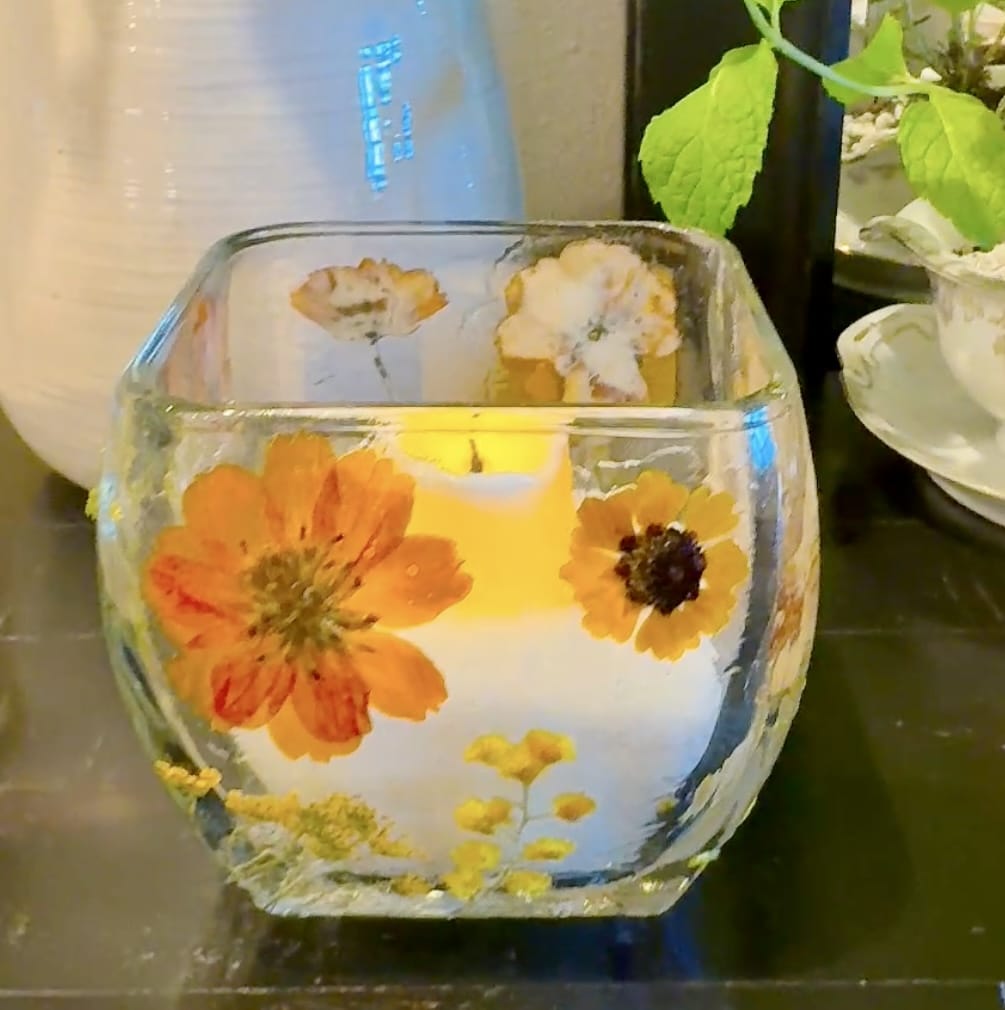
Looking for a thoughtful, budget-friendly DIY Mother’s Day gift or a sweet handmade idea for a teacher? These decoupage glass candle votives with pressed flowers are simple to make, beautiful to display, and feel truly special. Using just a few inexpensive supplies, you can create a personalized gift that looks like something you’d find in a boutique.
I used battery-operated LED candles for safety, especially if you’re gifting these or making them with kids. This is an easy, relaxing craft with no hot glue required—perfect for older kids to help with too.
You can dry your own flowers the traditional way by pressing them between book pages. I’ve done this before and it works well—it just takes a little patience. Since I wanted to make several projects, I decided to try pre-preserved flowers I found online, and I’m really happy with how they turned out.
You can have older kids help make these DIY votives too, there is no hot glue involved.
See my complete list of easy and affordable Mother’s Day gift ideas here!
I have affiliate relationships which means I may earn a small referral commission at no additional cost to you if you shop using my links. As an Amazon Associate, I earn from qualifying purchases.
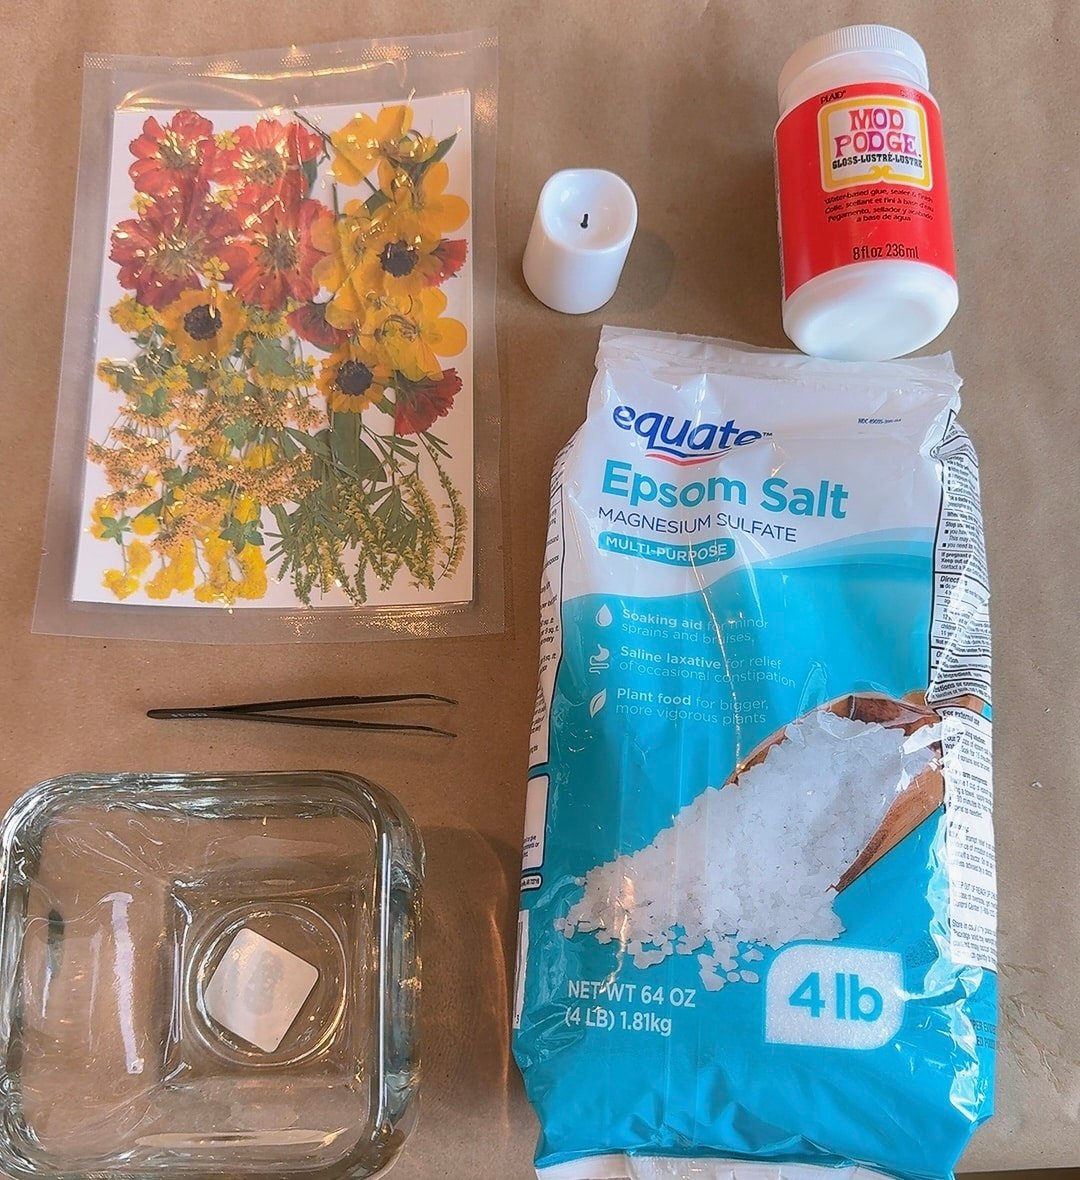
Supplies I Used:
Clear glass candle holder—I’ve linked similar ones found on Amazon. The one I used is from Walmart. I found it in-store in the craft section for $2.98.
Epsom Salt is optional. I used it to lift my small candle higher, but if you have a taller candle, you may not need it.
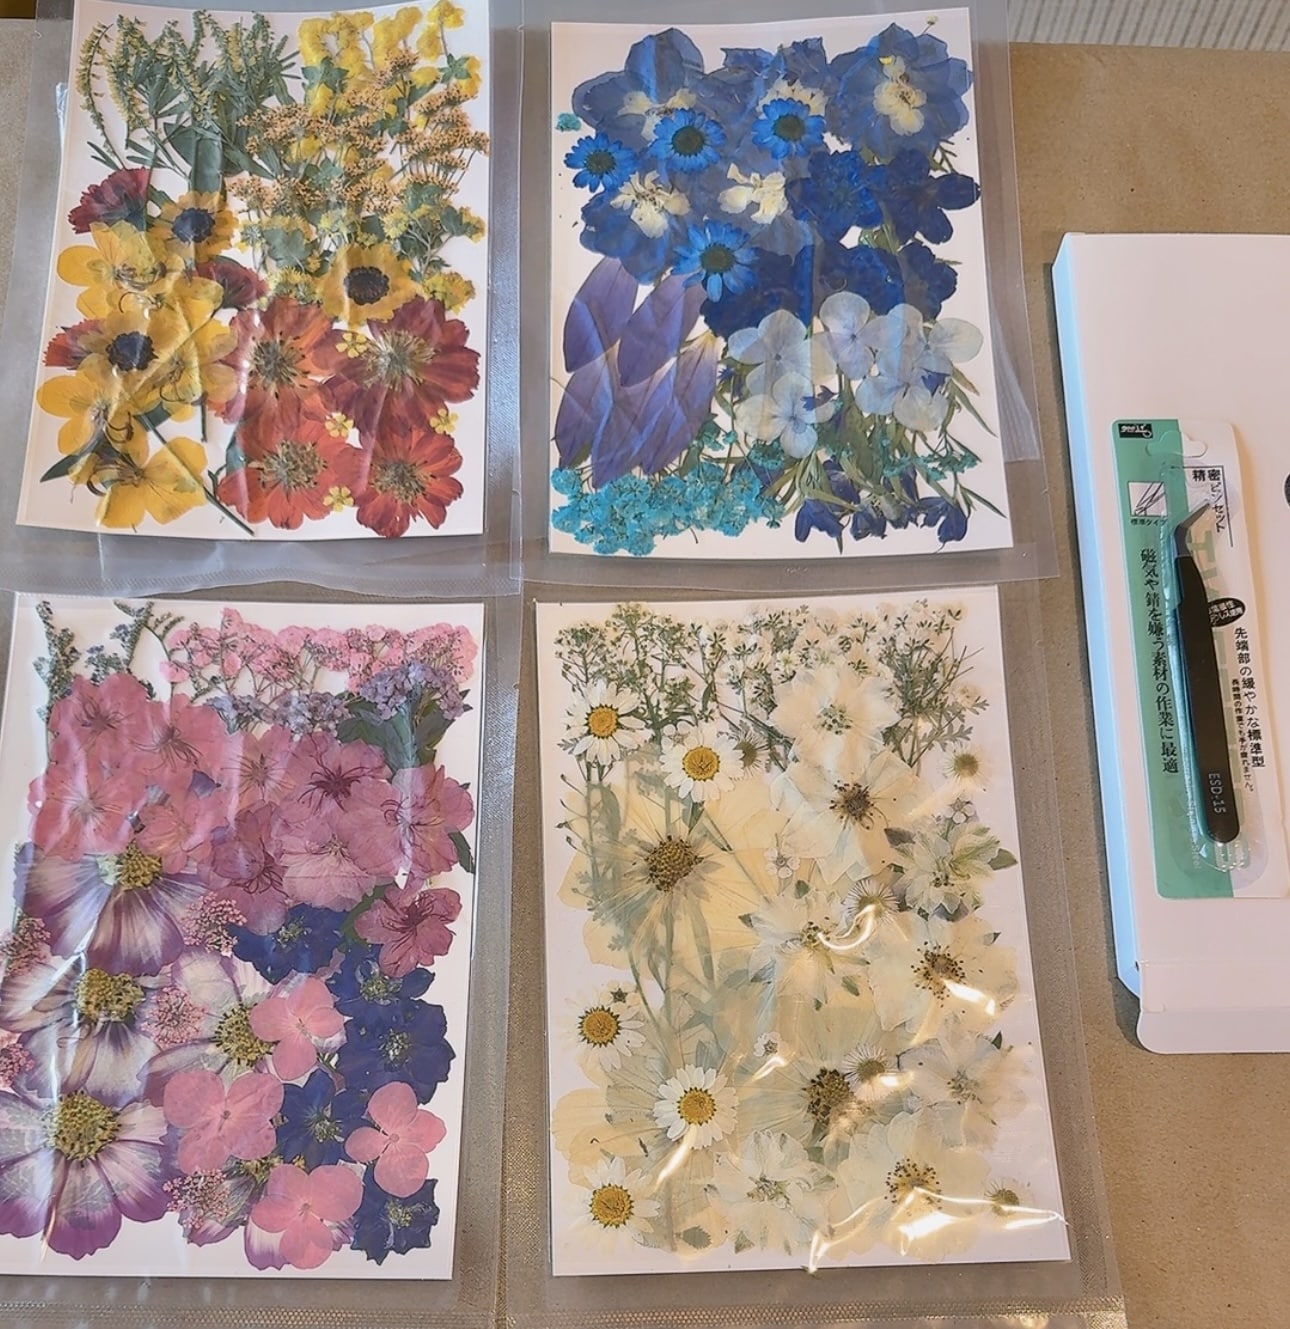
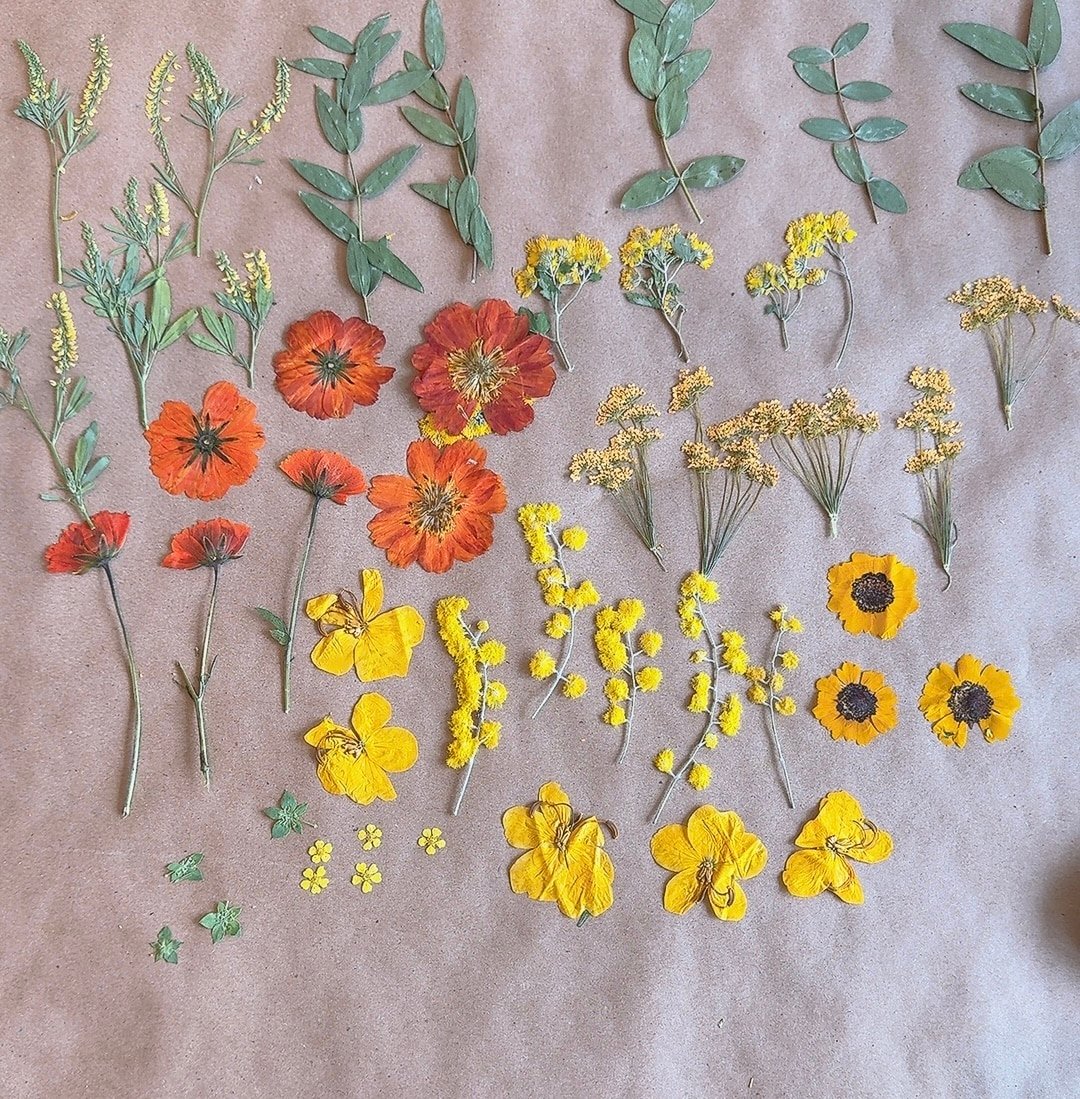
These are all the preserved flowers in the package – they are beautiful!
 How to Decoupage a Glass Votive:

Make sure your votive or jar is clean and dry.
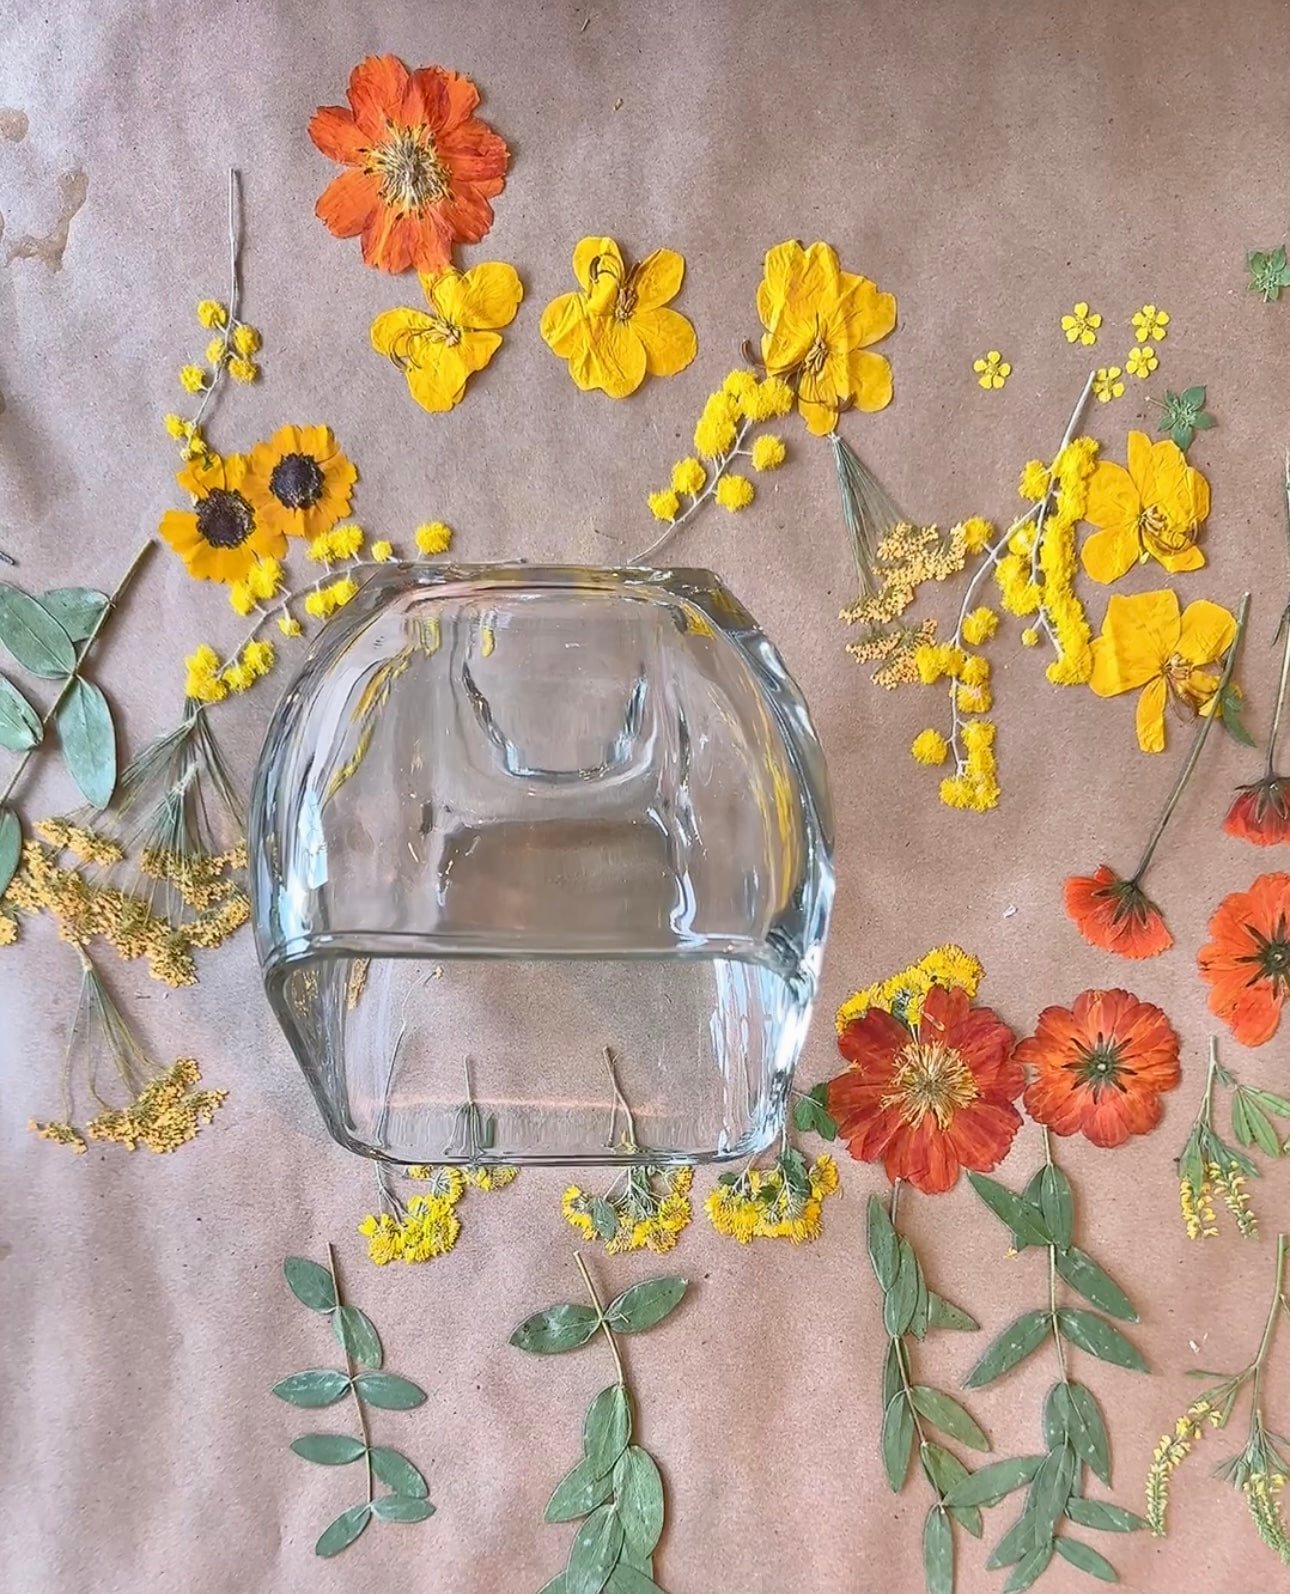
Place your preserved flowers on the outside of your container until you are pleased with how they look.

I put Mod Podge on the container where I wanted the flower to be and then covered it with more.
Use the tweezers that come with the flowers, especially for the small, delicate ones. If any pieces of flower or greenery are sticking up, use the tweezers to press them into the container and hold for a few seconds.
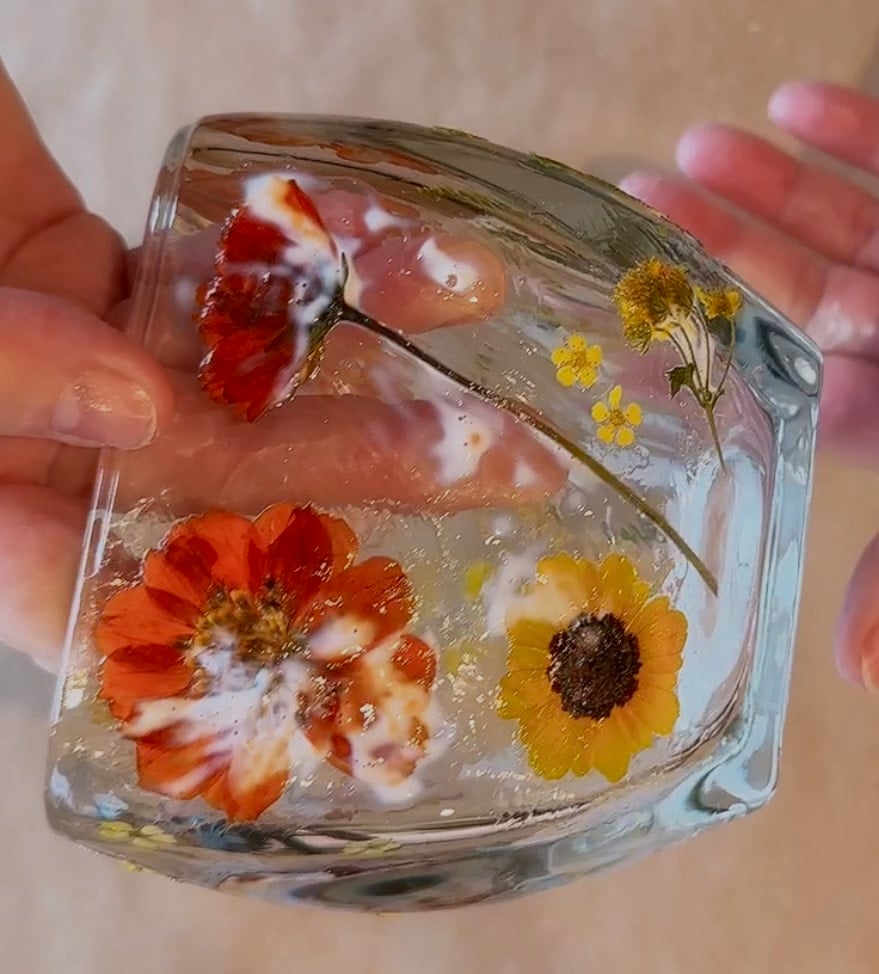
When the Mod Podge is completely dry, add your battery-operated candle. Mine dried completely in about 45 minutes. I may have used more Mod Podge than I needed to, but you do not have to be precise, and those are the types of crafts I enjoy the most.
The Epsom Salt is optional. My candle was small, so the Epsom Salt helped lift it up a little higher in the glass votive. When you turn the candle on, the Epsom Salt sparkles and adds a pretty touch.
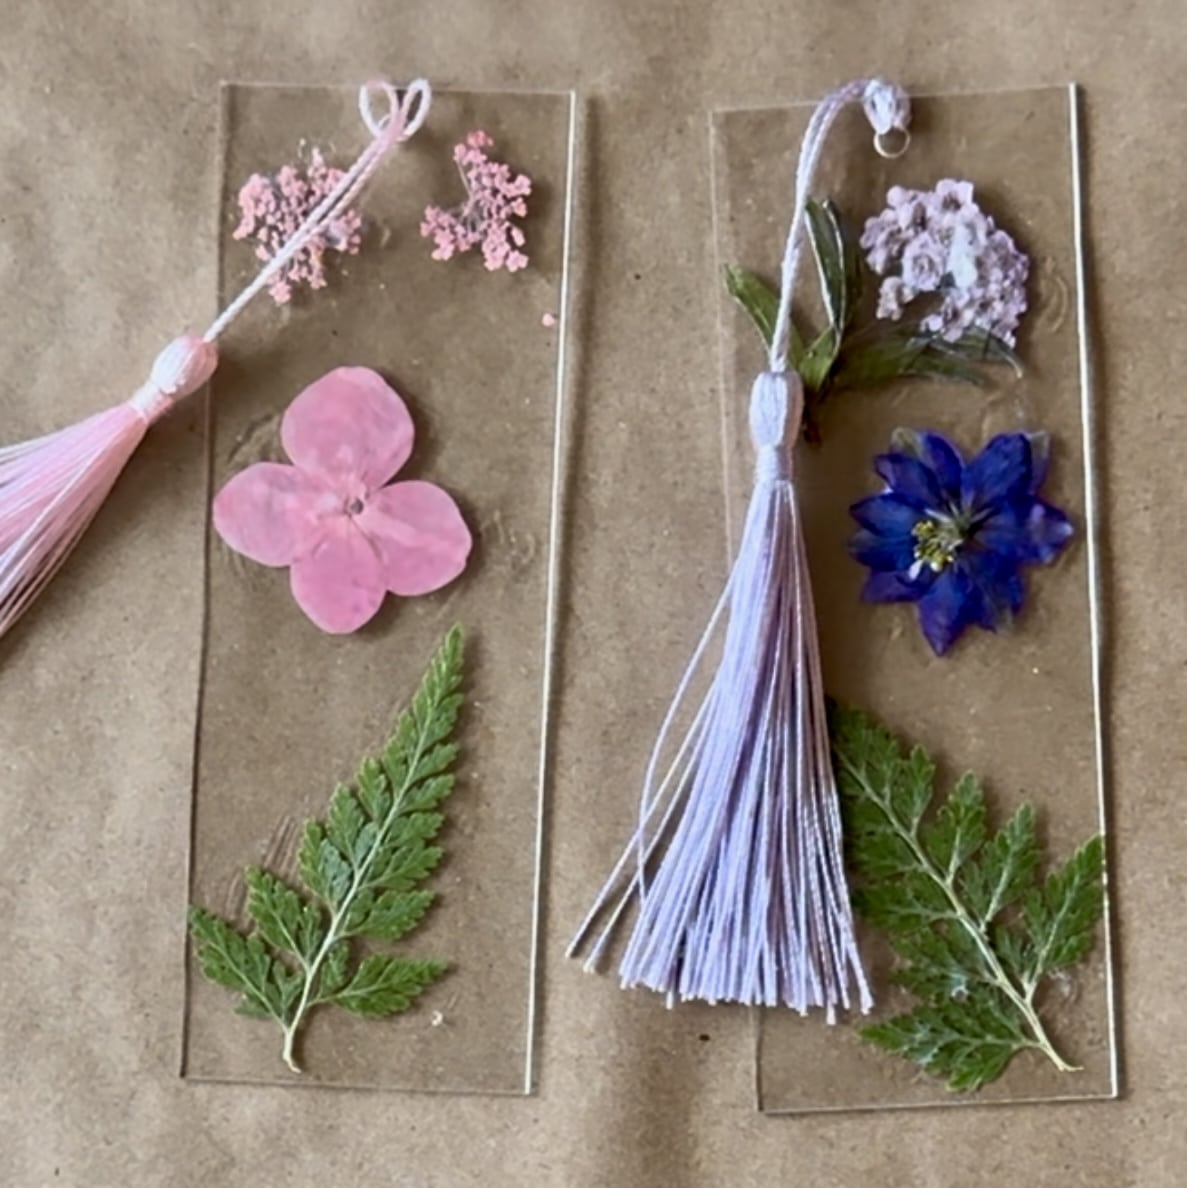
I still have so many beautiful preserved flowers left, and I’ve already used them to make these DIY pressed flower bookmarks. I’m excited to keep creating!
If you enjoy simple crafts like this, you might also love my Mother’s Day herb garden using thrifted teacups and saucers.
Have you ever worked with pressed flowers? I’d love to hear your ideas for using them!
If you want to dry and preserve your own flowers, here is a helpful post from HGTV about flower drying.
Here is the link to my DIY Pressed Flower Bookmarks
Mother’s Day Herb Garden using thrifted tea cups and saucers
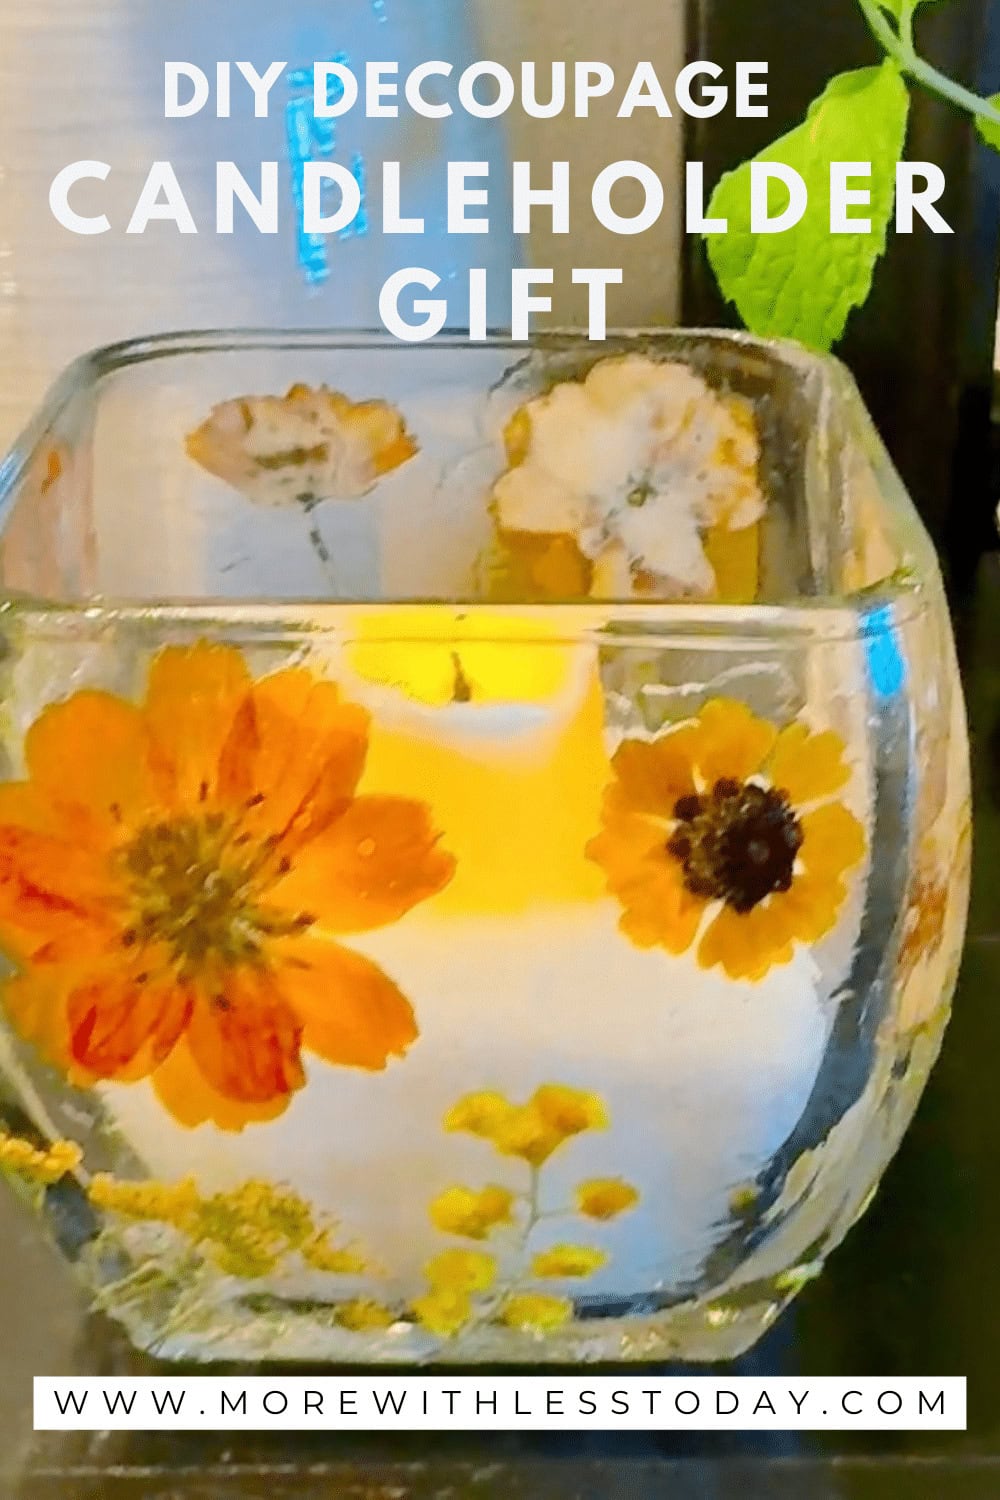
PIN for Later:
Leave a Reply