
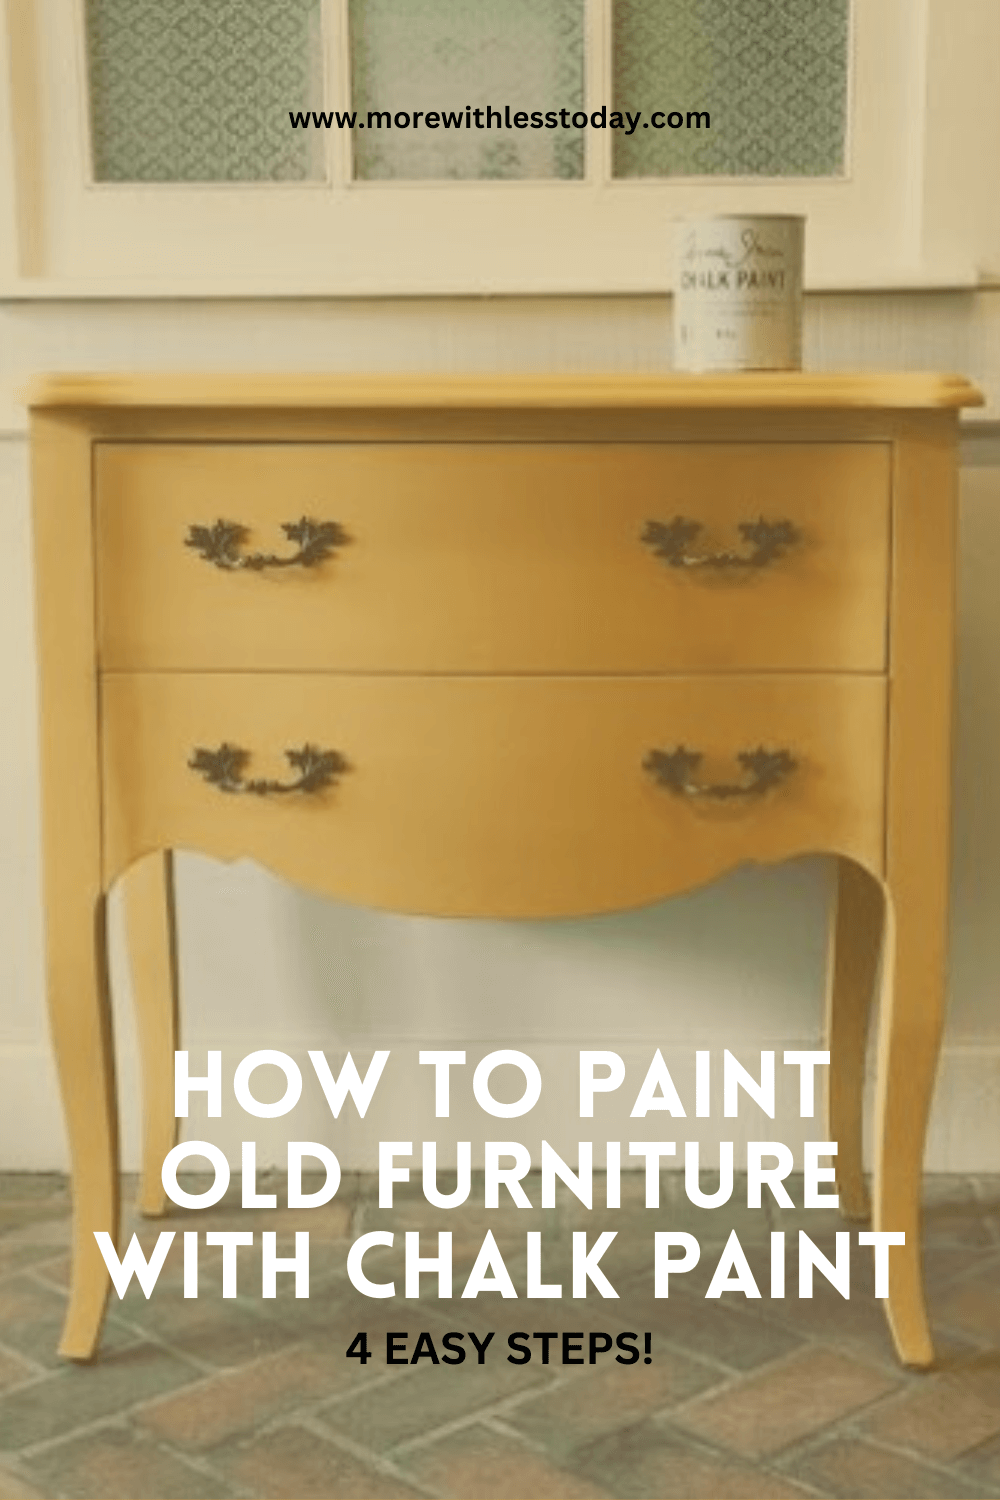
Learn how to paint old furniture like a pro with Chalk Paint in four easy steps. The hardest part is choosing which beautiful color to use!
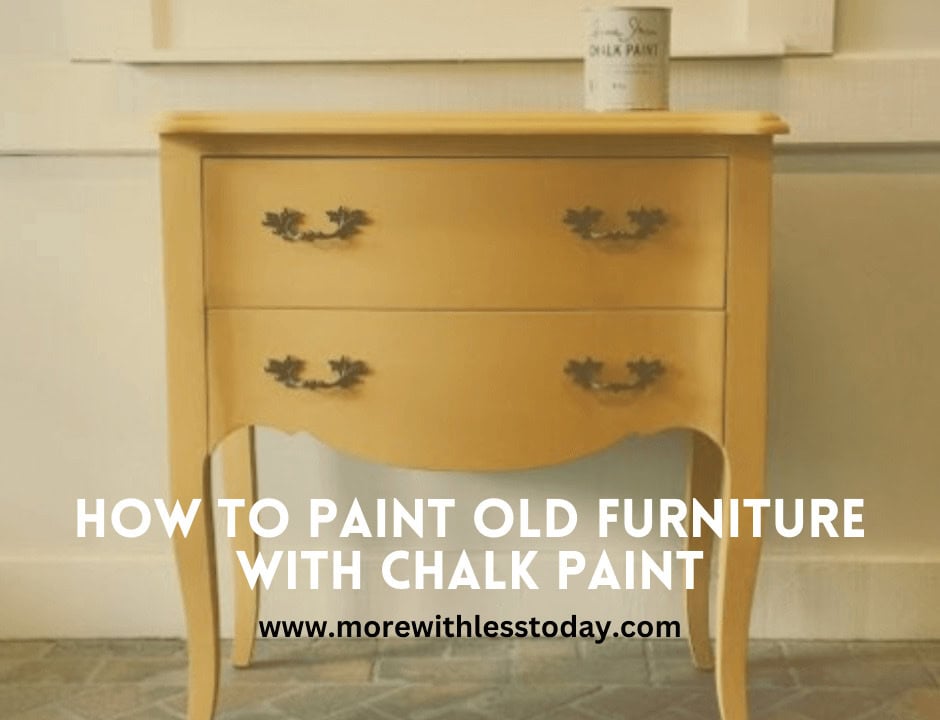
I am a sloppy painter and an impatient one, too. What I love about this technique is the minimal prep time, the paint’s forgiving nature, and the result, which is simply fabulous. If you want to upcycle old furniture and transform your home on a budget, you will love this tutorial on using Chalk Paint.
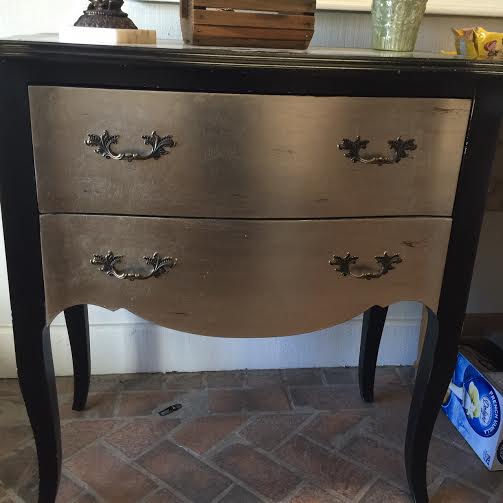
If you don’t have any old furniture to paint, check local garage sales or your favorite thrift store. As an Amazon Associate, I earn from qualifying purchases.
Navigate This Article
Give You Old Furniture New Life
Lisa Lee, owner of Vintage Home OC turned her love of thrift store finds into a business. She shared her step-by-step instructions for giving old furniture a new life.
Lisa says, “I love decorating on a budget, antiquing, thrifting, and especially searching garage sales! It thrills me to find a great piece of furniture and turn it into something beautiful. My home is half-filled with Goodwill items and half with things I’ve made.”
She showed me how easy it is to give your old, scratched, or just no longer your style of furniture a new life and a new look.
I thought painting with Chalk Paint would be tricky and time-consuming, but I was wrong on both counts!
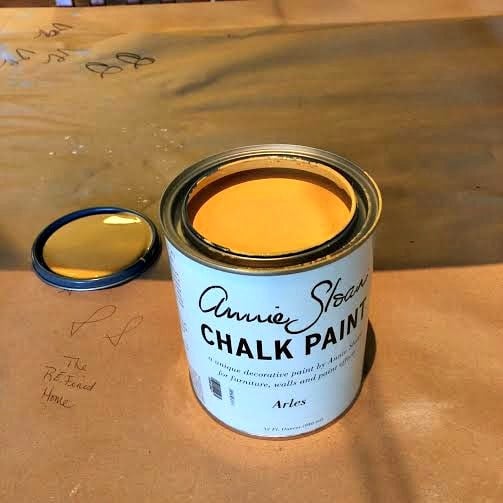
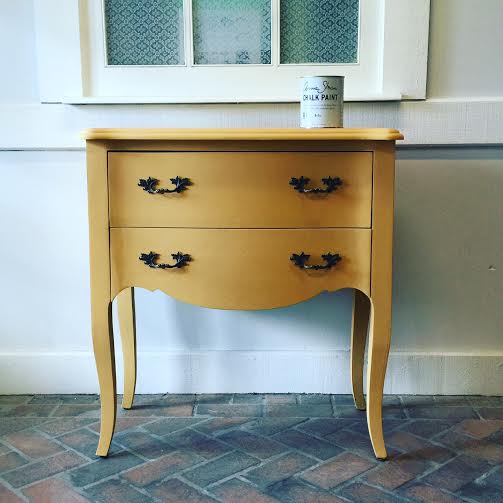
The color palette is so lovely that choosing the color for my table makeover was the hardest part.
I settled on Arles, a gorgeous yellow color from Annie Sloan®. You can find some of her chalk paint on Amazon and several other brands. You can explore chalk paint on Amazon here.
Supplies Needed for the Makeover
I brought my old table to Lisa’s store, and she showed me the supplies needed for the makeover:
- Wax
- Painters tape
- A clean, lint-free cloth
- One quart of Chalk Paint. You’ll be surprised how much paint is left over for future projects!
- Quick link to Annie Sloan Chalk Paint on Amazon
- A natural bristle brush for painting
- A screwdriver was used to remove and then put back the drawer’s hardware
How to Paint Old Furniture in Four Easy Steps
Lisa walked me through this fun tutorial step-by-step. Surprisingly, there are only four easy steps.
Step 1: Dust off your furniture piece
The prep time for the furniture was next to nothing! Don’t you love that? It did not need to be primed or sanded. Lisa wiped off the dust and was then ready to begin. Knowing this project could be completed quickly got me on board for a weekend crafter like me.
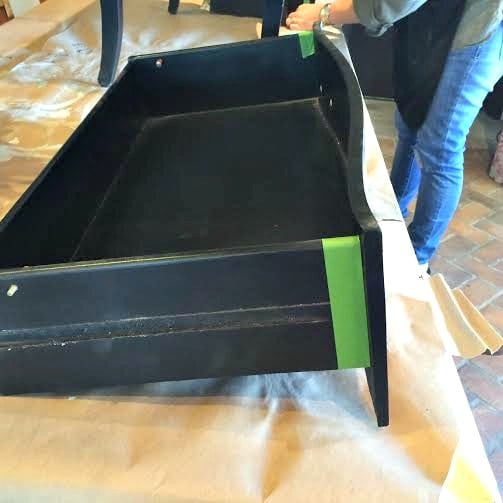
Step 2: Painter’s Tape
Lisa started by using painter’s tape to tape off the inside drawers. She also removed the handles because they were in good shape, and we would reuse them when the project was done.
Tip: If your furniture hardware is not in the best shape or not in a style you like, buying new hardware for your project is a very inexpensive fix.
Step 3: Painting — multiple coats
Then we dove into the fun part—painting! Lisa worked quickly, applying the first coat and keeping the brush moving.

It’s time for the second coat! The number of coats needed depends on personal preference and the starting color of the furniture. Lisa said it is best to let each coat dry for 24 hours, but if you are in a hurry, you can use a hairdryer to dry each coat and then continue painting.
Step 4: Wax
Several types of wax can be applied to the finish to give it a smooth, professional look. I chose clear wax for my piece.
When your piece is dry, use a clean natural bristle brush and apply the wax liberally. Once you have covered it, use your clean, lint-free cloth to wipe off any excess wax. The wax will seal and protect your painted furniture and harden when it dries.
Another surprising feature was how little paint was used and how much was left over for future projects.
What I Learned
- Don’t be intimidated. The entire process, from start to finish, was so easy, and the paint was very forgiving. Unlike latex paint, you can quickly go back over a section to thin it out or apply more paint if needed.
- The first coat may look streaky with your brushstrokes showing. Don’t worry; the second coat will look dramatically better than the first coat.
- The furniture takes 21 days to cure fully, so be careful when placing decorative objects on top. I would advise against moving things around until the piece has completely dried.
I’m thrilled with how the old table turned out, and I can’t wait to find more old furniture to paint. Do you have any tips for painting old furniture like a pro?
DIYs You Might Also Like
Join us on Pinterest for more DIY Ideas for a beautiful home.
Want to remember this post? PIN it for later!
Remember to share this post with your friends and loved ones. If you are on social media, I would love to connect with you on Facebook, Instagram, Pinterest, or Twitter. Just click on the links to visit my profile. Leave a message, and I will follow you back!
Leave a Reply