Doing photo transfers using a nail polish remover is a special way to enjoy your favorite photos! You can make photo transfers using nail polish remover and make photo tiles. These are inexpensive to make using just a few supplies.
Follow the easy steps and make a set for yourself and some for gifts. If you are like me, most of your photos are on your smartphone. This is a way to enjoy those memories with a set of photo tile coasters.
You can use your holiday photos to make gifts to give for all holidays including Christmas, Mother’s Day, Father’s Day, graduation, weddings, birthdays, holidays, or special occasions. Be sure to share your finished project with us!
We have affiliate relationships, meaning we may earn a small referral commission at no additional cost if you shop using our links. As an Amazon Associate, I earn from qualifying purchases.
Photo Coasters Made With Tiles and Nail Polish Remover
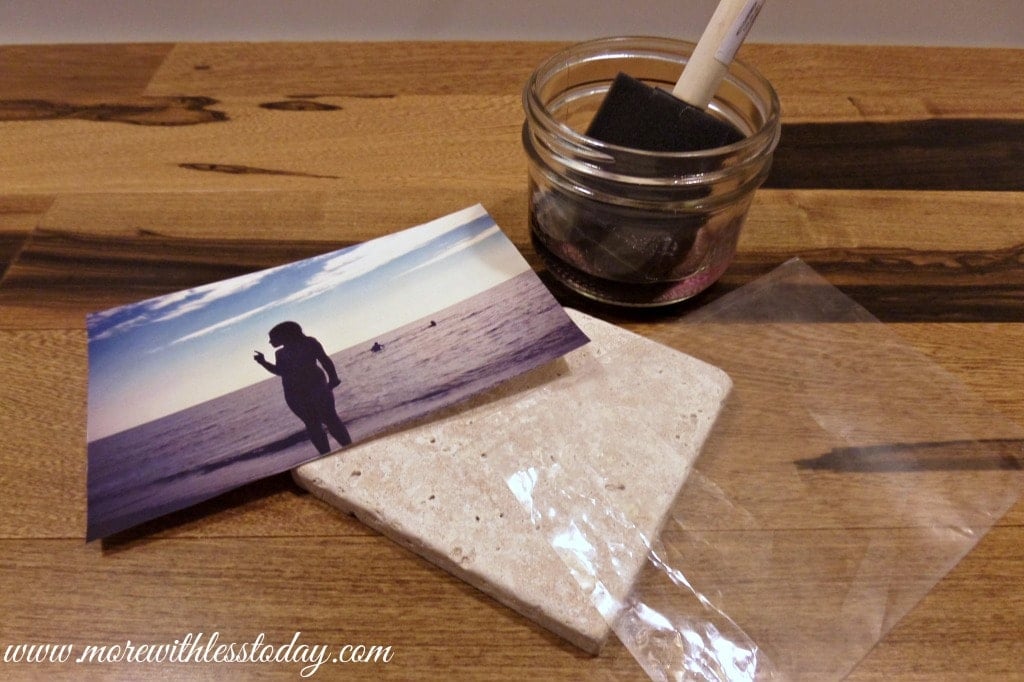
Supplies You Need
- 4″x4″ stone tiles – I found that they need to be stone vs. ceramic for the photo transfer to work. Here are stone tiles from Home Depot
- inexpensive nail polish remover – it should contain acetone but not be pure acetone
- paper copies of your favorite photos – the darker the image, the better the transfer
- 1 sheet of acetate – here is a link to acetate sheets on Amazon.com
- a knife or boning tool to use for applying pressure as you transfer the photo
- tile sealer – I used Aquamix Enrich-n-Seal I made several sets to give as gifts to offset the cost.
- foam brushes
Notes
- The paper copies need to be made on a copy machine or printer that uses TONER not ink. This will not work properly with ink or laserjet printers. Most local office stores or local printing companies use toner.
- Because the image will be transferred face down, consider reversing the image before printing it so words and such face the correct direction on the finished tile.
Instructions
Starting the process
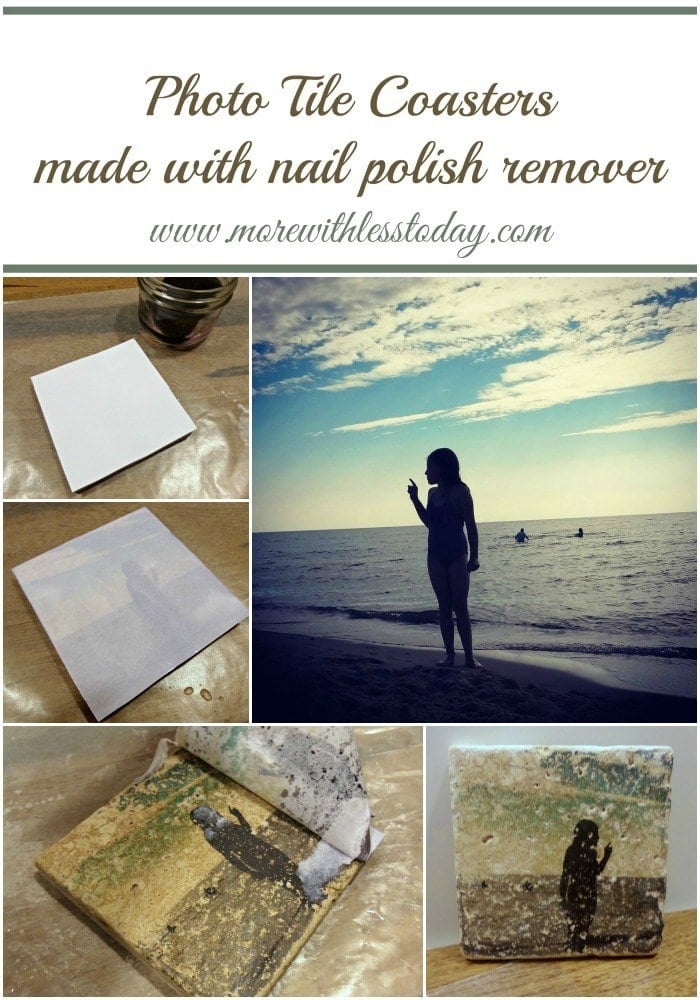
#1. Begin by cutting your photo to the same size as the tile you are using. It can be slightly larger as the excess paper will rub off.
#2. Turn your photo face down on top of the tile.
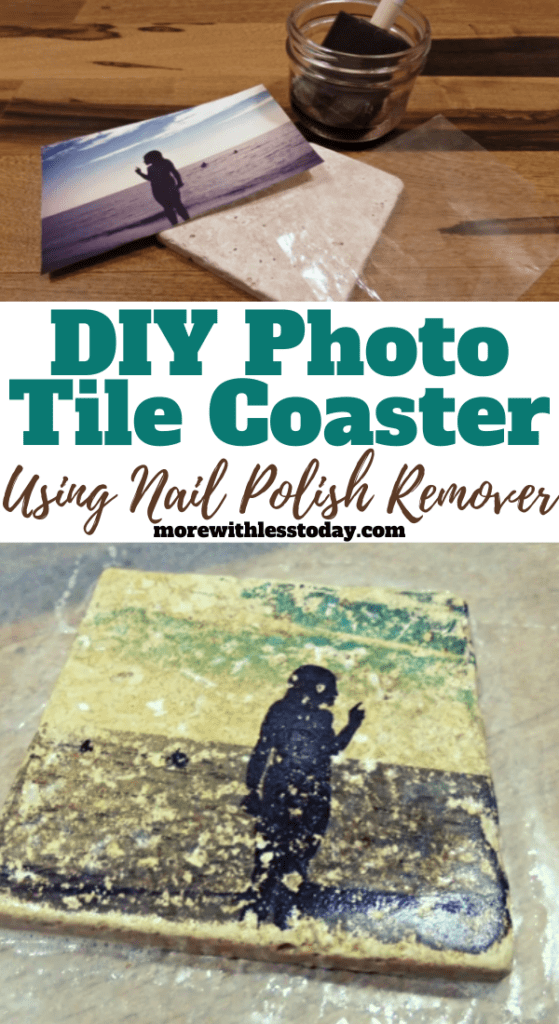
#3. Use the foam brush to apply a generous amount of nail polish remover to the back of the photo.
#4. Cover the photo and tile with the sheet of acetate and use the knife of the boning tool to rub across the acetate. The acetate protects the photo while you rub and apply pressure. It takes time, elbow grease, and patience. But, it is so worth it in the end! Continue rubbing the acetate with the knife. Lift the acetate off and apply more nail polish remover. Replace the acetate and continue rubbing.
Transferring the photo
#5. After a few applications of nail polish remover and rubbing, carefully lift the corner of the photo paper to see if the ink is transferring. If it has not been completely transferred, repeat the above process.
#6. Once the image has transferred to the tile, remove the paper, and use your fingers to rub any stuck-on paper off.
#7. Rinse the tile off and let it dry.
#8. In the image below you can see the original photo I used for the tile. I did several tiles using different photos but the photos with darker and more contrasting colors turned out the best.
#9. To finish the tile, apply a coat or two of tile sealer over the image.

#10. When the sealer has dried, stack the set of photo coasters together and tie a piece of ribbon or twine around them. They will make a beautiful and meaningful gift!
Are you on Pinterest? Follow More With Less Today on Pinterest for more ideas.
DIY Projects You Might Also Like
- DIY Ribbon Bookmark
- Home Decor DIY Letter Decor
- Teacup Herb Garden – DIY Gift
- Easy DIY Bird Feeder from Recycled Plates and Cups
- Shortcuts, DIY, and Life Hacks to Make Things a Little Easier
PIN It Now and Save It for Later!
Don’t forget to share this post with your friends and loved ones. If you are on social media, If you are on social media, I would love to connect with you on Facebook, Instagram, Pinterest, or Twitter. Just click on the links to visit my profile. Leave a message and I will follow you back!
Leave a Reply