Repurpose things around your home. These clever upcycling ideas give new life to what you might otherwise throw away. Check out these new uses for household items before you throw them away!
Upcycling is a great way to give old household items a new lease on life, reducing waste and saving money. Here are some ideas to get you started.
Navigate This Article
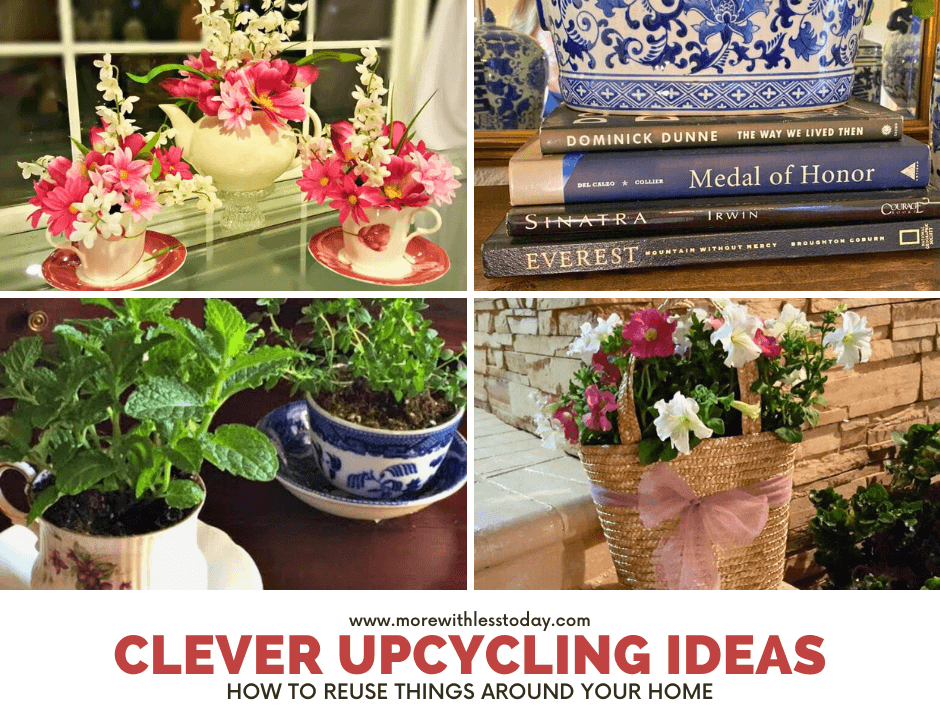
Clever Upcycling Ideas – Don’t Throw It Away
There are so many ways you repurpose and reuse things around your home in new ways. Almost all of these ideas use things that we might otherwise throw away. Before you throw something in the trashcan, read through this list and see if it could have a different purpose. These are some really smart upcycling ideas. As an Amazon affiliate, I earn from qualifying purchases.
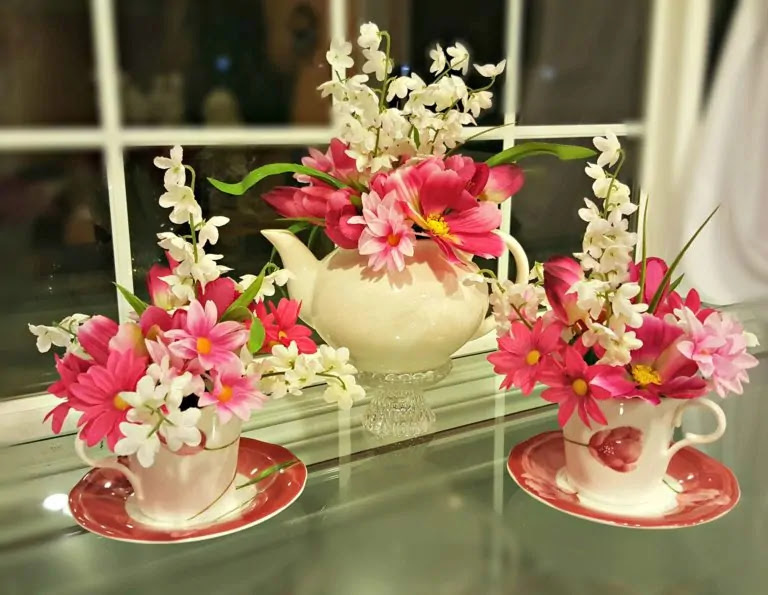
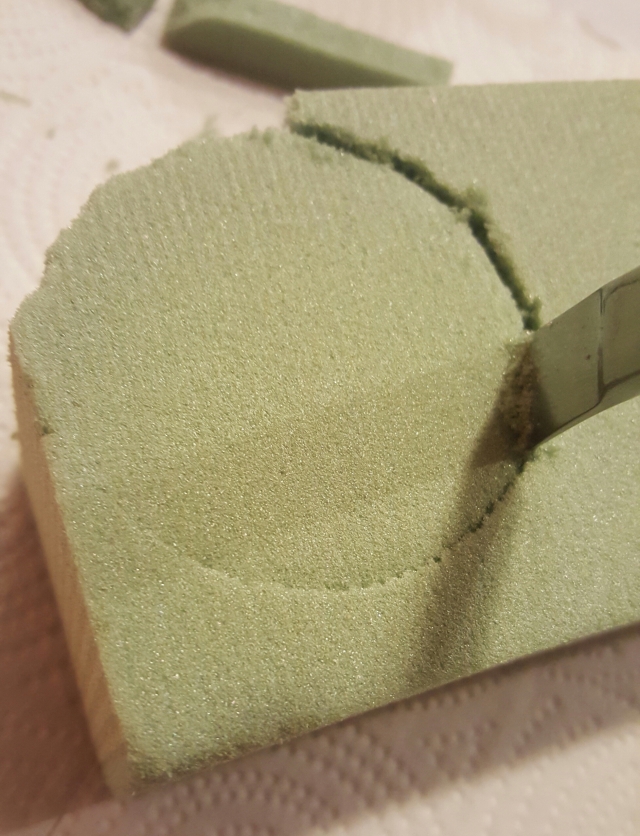
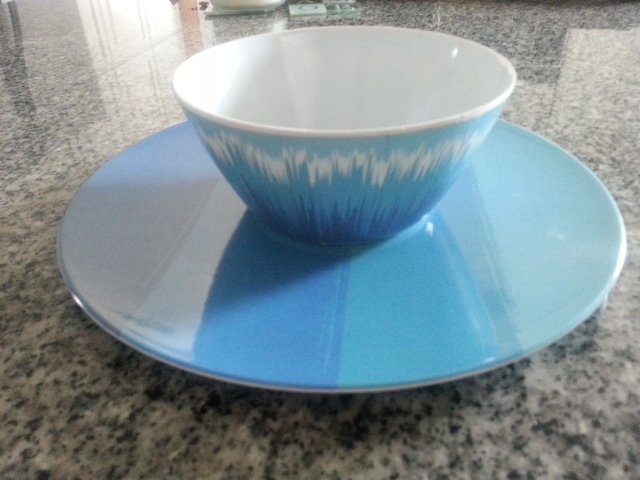
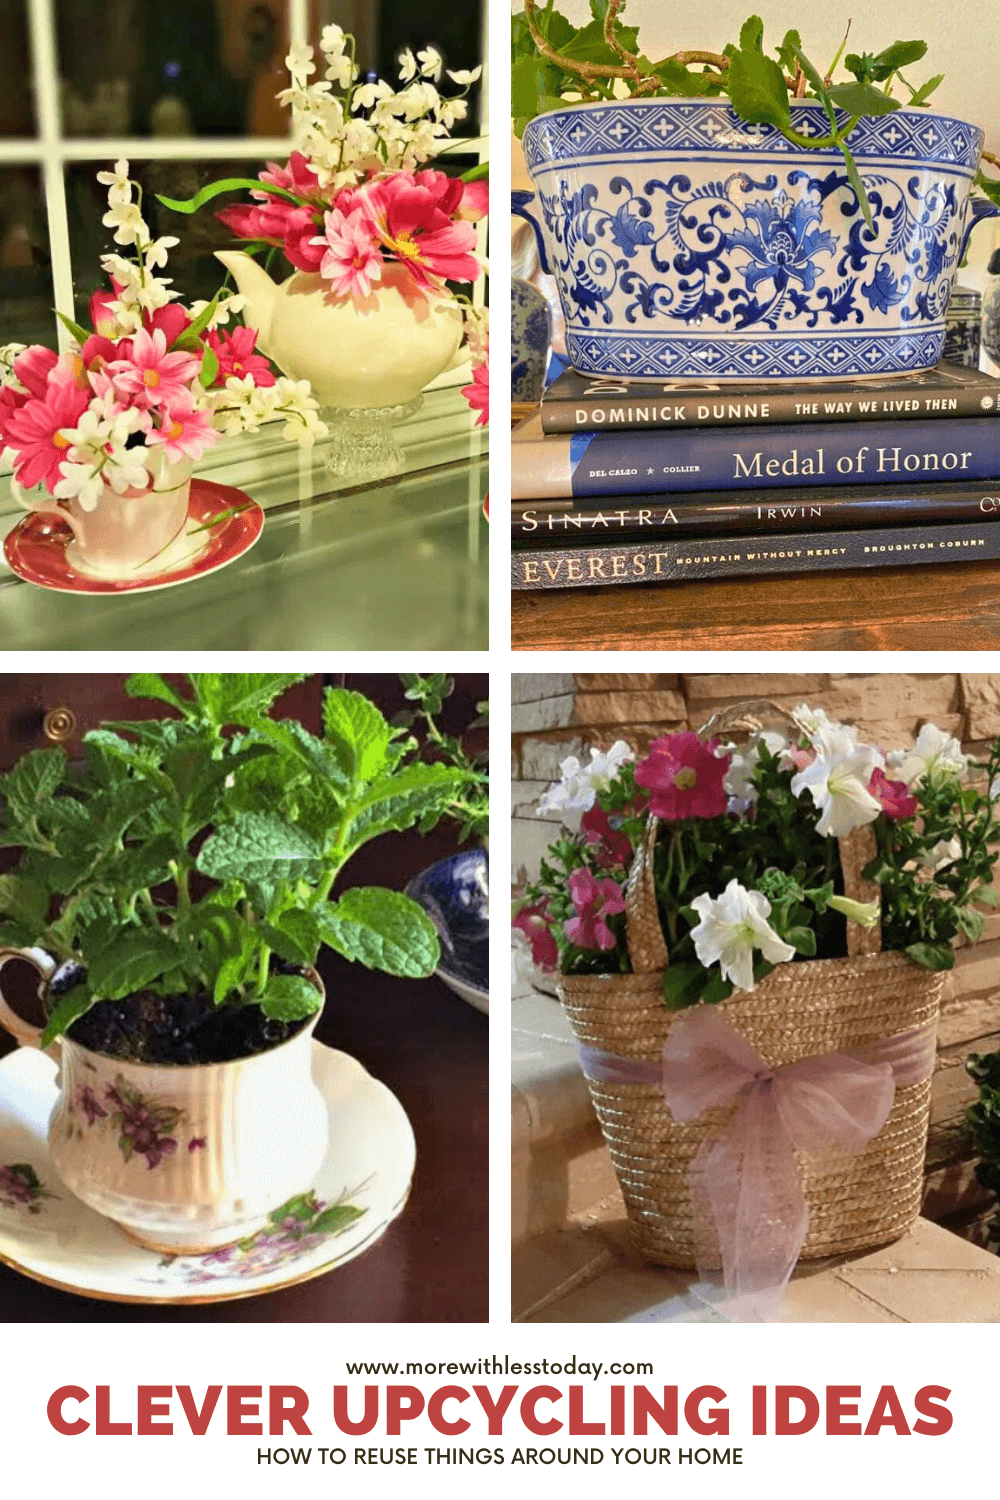
From Teapot to Centerpiece
Supplies:
- Teapot & Tea Cups with Saucers
- Silk Flowers – it is cost-effective to look for silk flowers in bunches or bouquets and then cut them apart
- Wire Cutters
- Floral Foam
- Knife to cut the foam (be careful!)
Tea Cups to Herb Garden
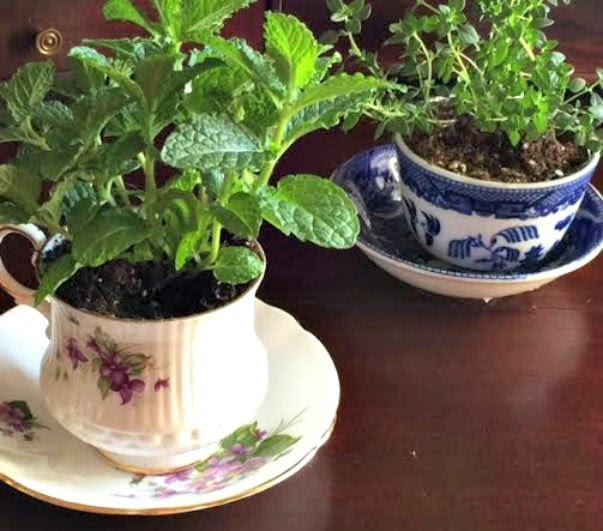
I made these for a Mother’s Day gift a few years ago. Plant herbs inside old tea cups and mist them as needed for a lovely Tea Cup Herb Garden
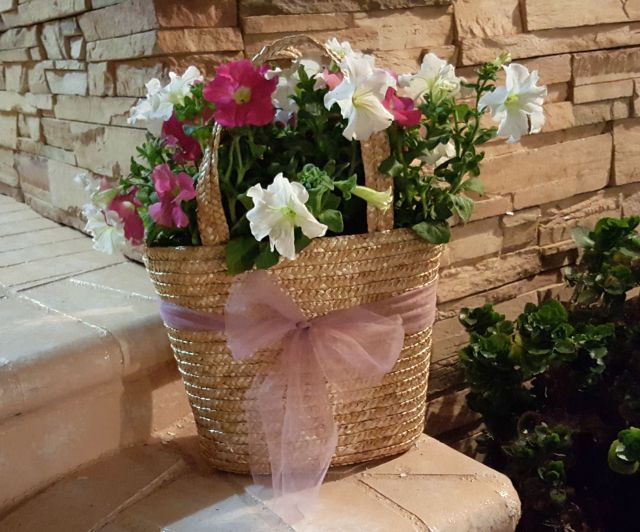
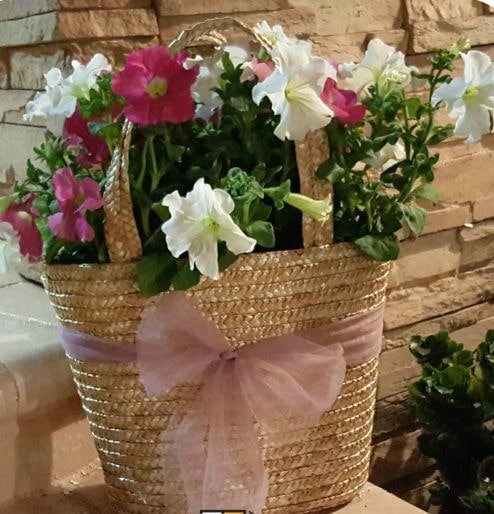
Straw Purse Planter
Old Lamp to Nautical Decor

How to Make an Old Lamp into Nautical Decor
We spray-painted the lamp. Apply painter’s tape in the areas you want protected not painted.

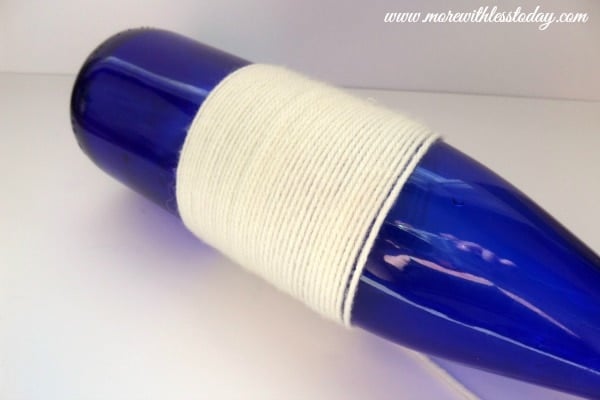
Nautical Theme Bottle Vase
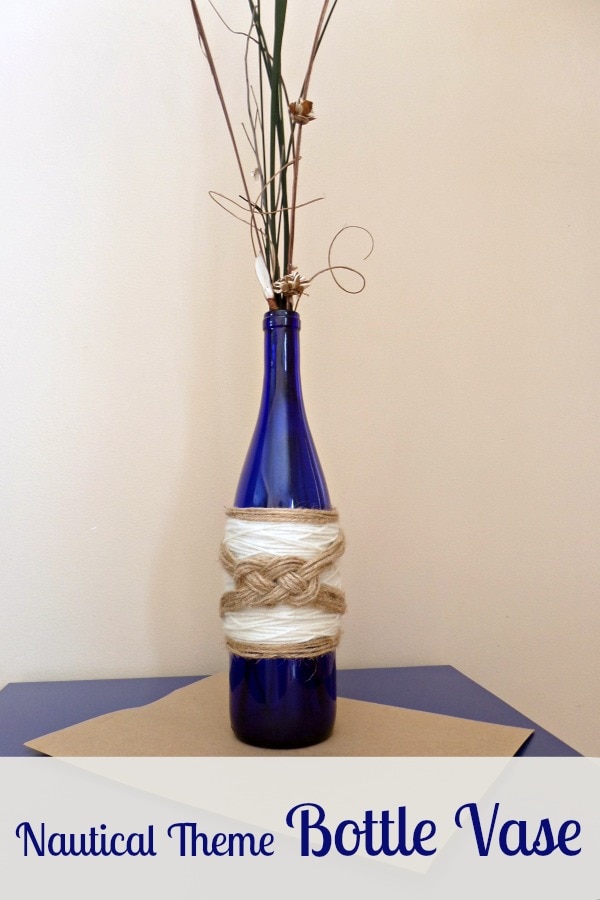
How to Make a Nautical Theme Bottle Vase
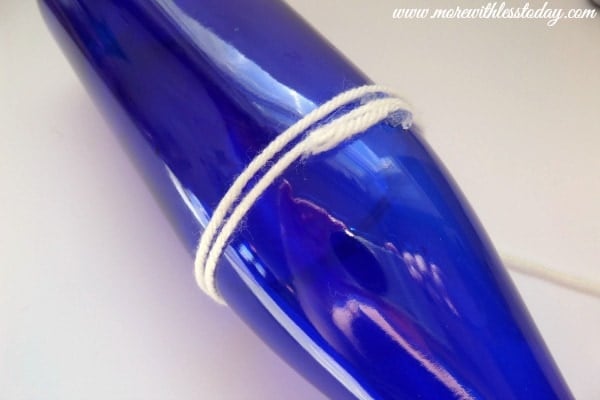
Use additional hot glue as needed to secure the yarn but only on the backside. Continue wrapping the bottle until you have covered 4″-5″ of the center. You can cover more if you like.
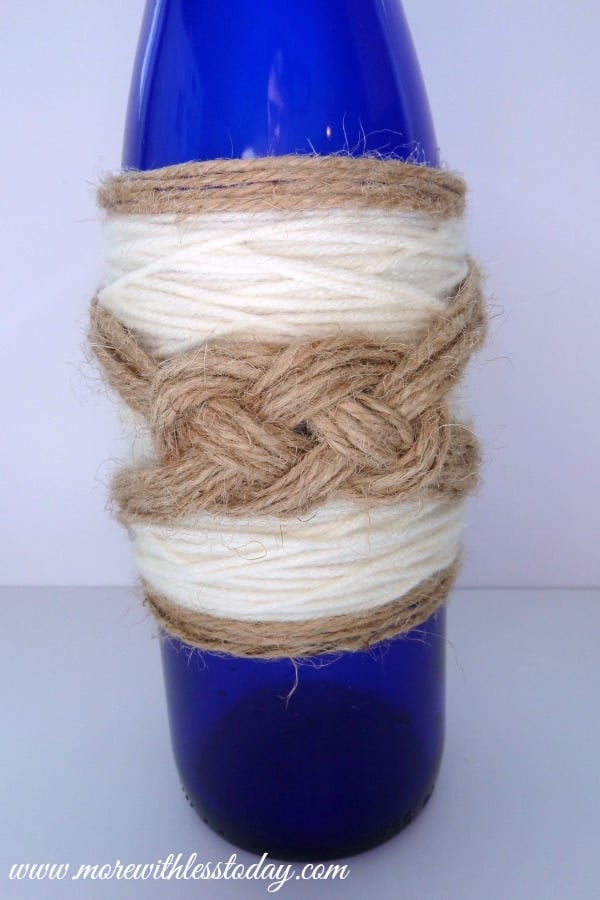
I made a sailor’s knot with my twine. There are many tutorials available to learn how to make these. I added the twine sailor’s knot to the vase with hot glue.
Ribbon to Bookmark
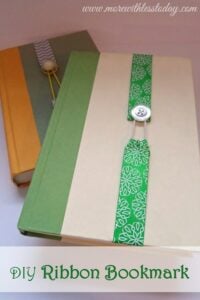
Make a helpful and lovely bookmark using an old ribbon.
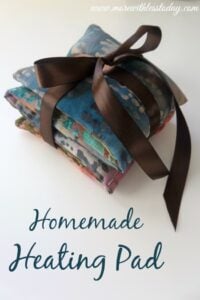
Homemade Heating Pad Using Flaxseeds
Get the instructions to make a comforting heating pad using flaxseeds.
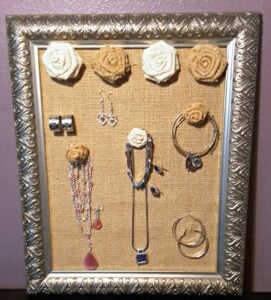
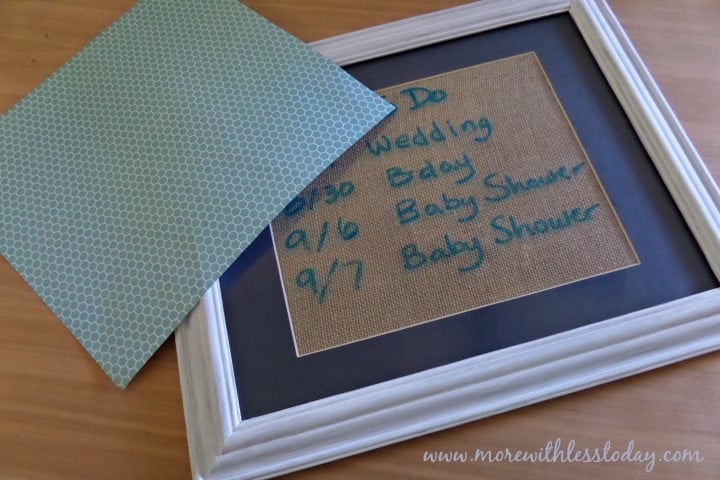
Discard the glass from an old picture frame. Spray paint if you don’t like the color. Cut burlap fabric to fit the cardboard backing in the frame and then hot glue it. Use large push pins so they can go through the burlap and the cardboard.
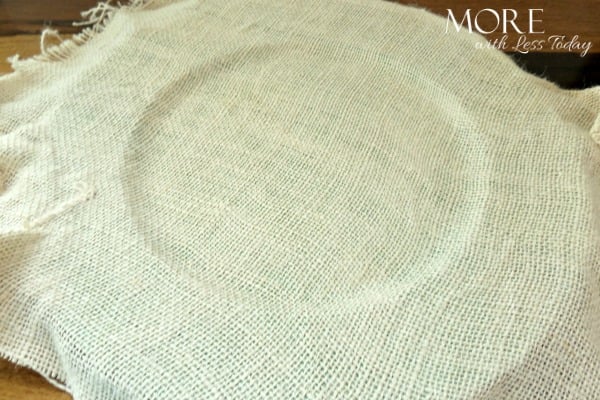
DIY Burlap Charger Plate

Simply spray a charger plate or plastic plate with spray adhesive. I used Elmer’s Craft Bond. Spray a generous amount of adhesive onto the plate and quickly cover it with the burlap fabric. Work quickly to smooth the fabric onto the plate removing any air bubbles or wrinkles.
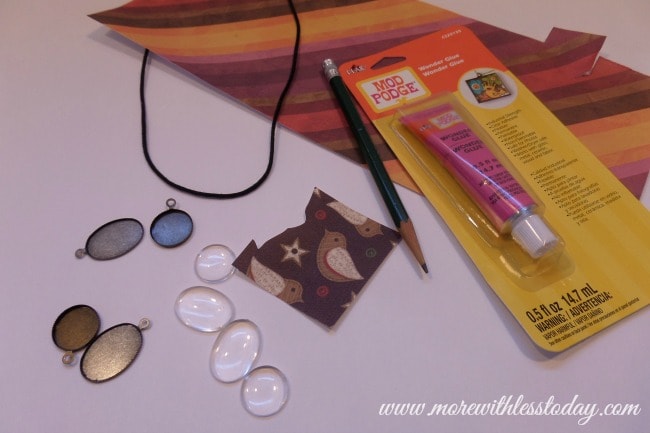
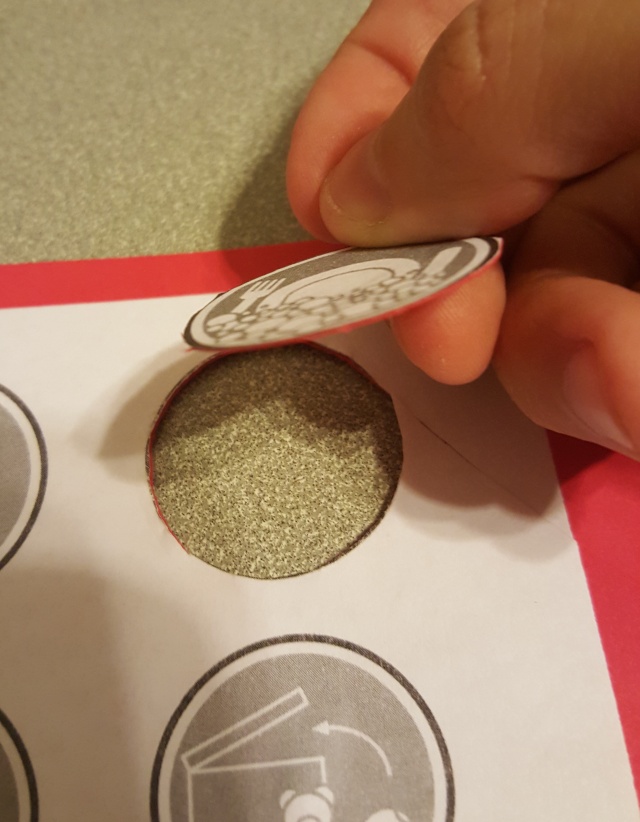
DIY Jewelry Modern Pendant
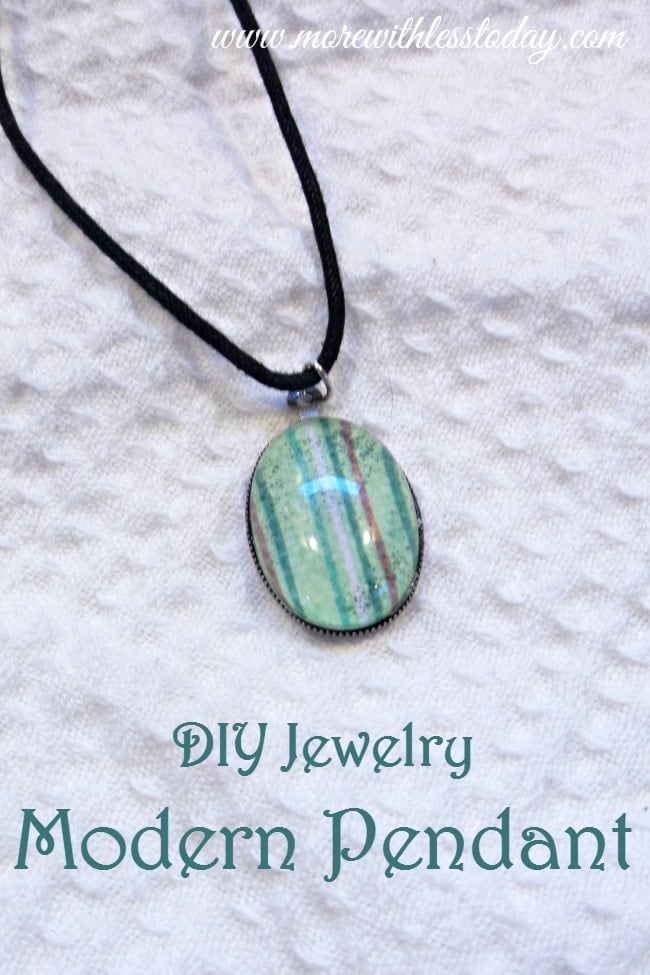
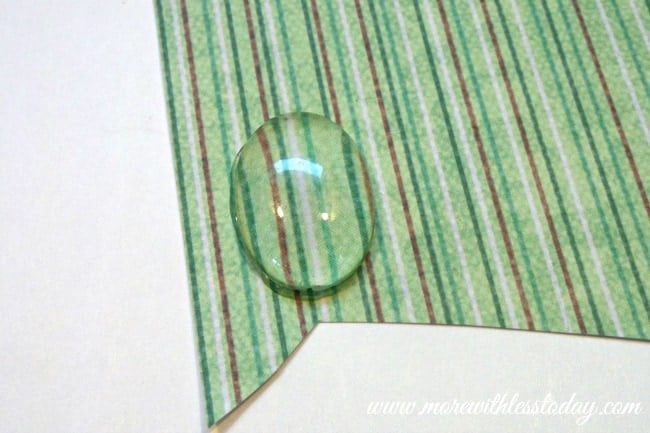
We used scrapbook paper, you could also create pendants using fabric or photographs. Imagine what a wonderful gift this would be for moms, sisters, grandmothers, or friends. Here is a popular pendant kit – pendant kit with clear plastic indents and metal pendants
You will also need glue meant to be used on glass.
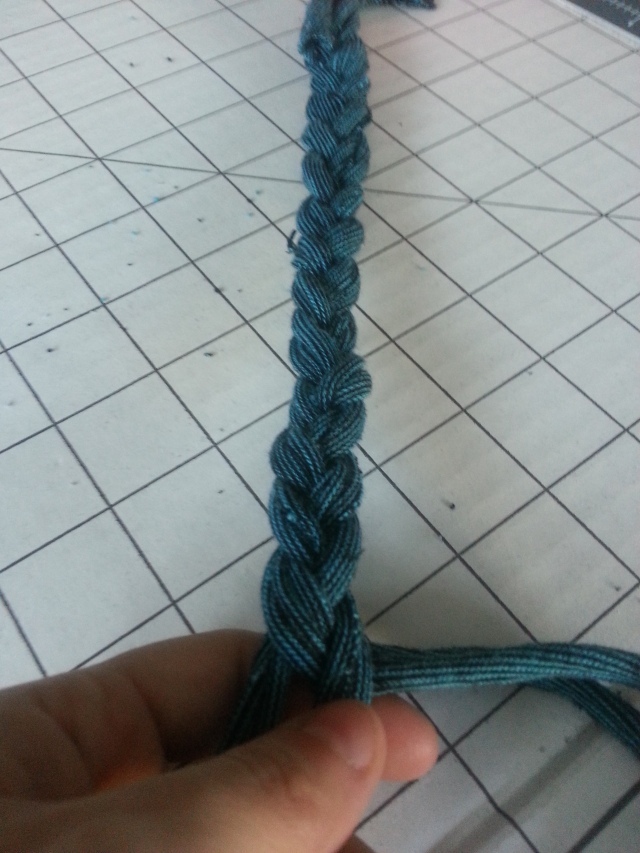
Necklace from Old T-shirts
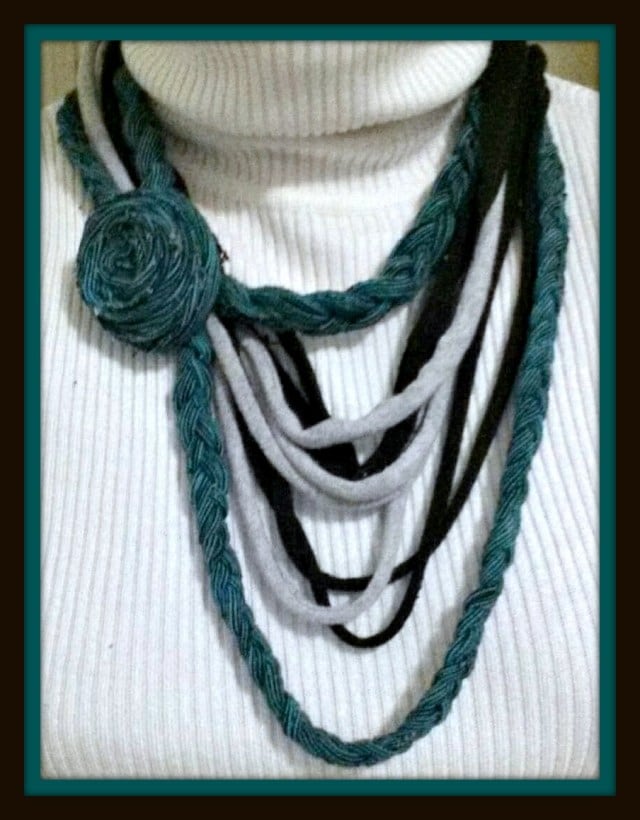
How to Make a Necklace from old T-shirts
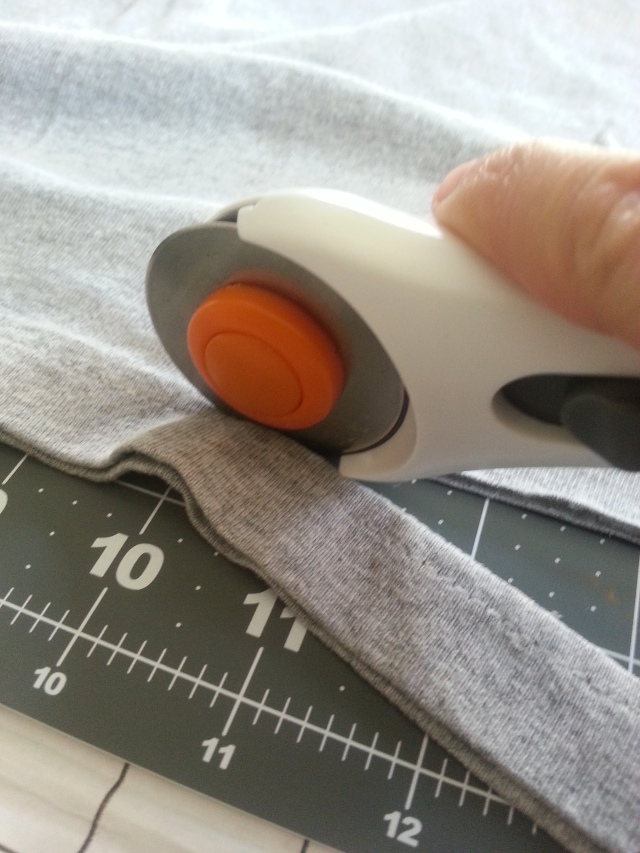
Cutting the strips of fabric takes a little time, but the result is DIY fashion so unique that everyone will want to know where you bought it. You can use a rotary cutter and mat or just scissors. You can pick up a rotary cutter and a mat at any craft store.
Continued Instructions on How to Make a Necklace from old T-shirts
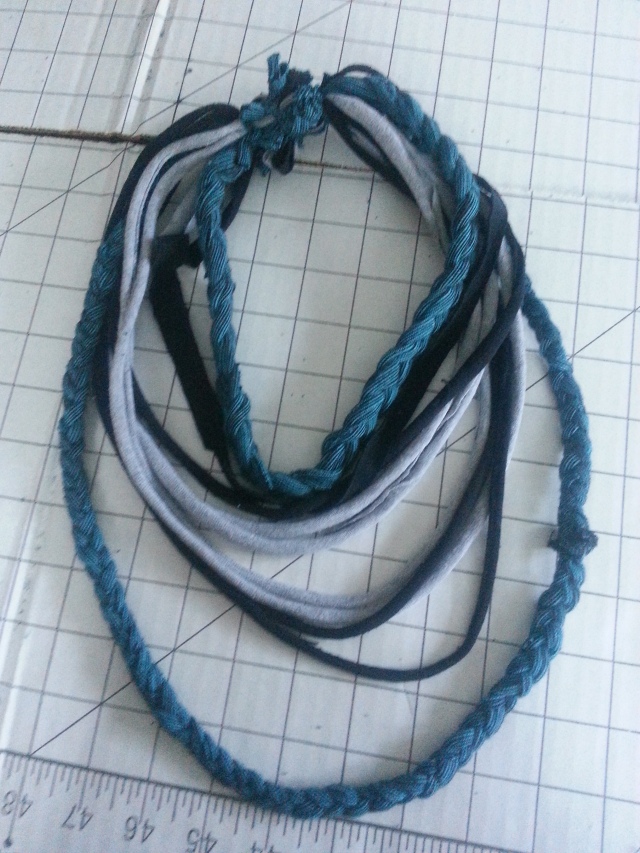 Grab the two ends (which will be bulky) and tie them together. Make sure to try on the necklace and make sure it is the right size before tying them together, you can make adjustments. Cut about a 2′ strip to cover the tied-off area. Tie off on the end and cut off any excess material.
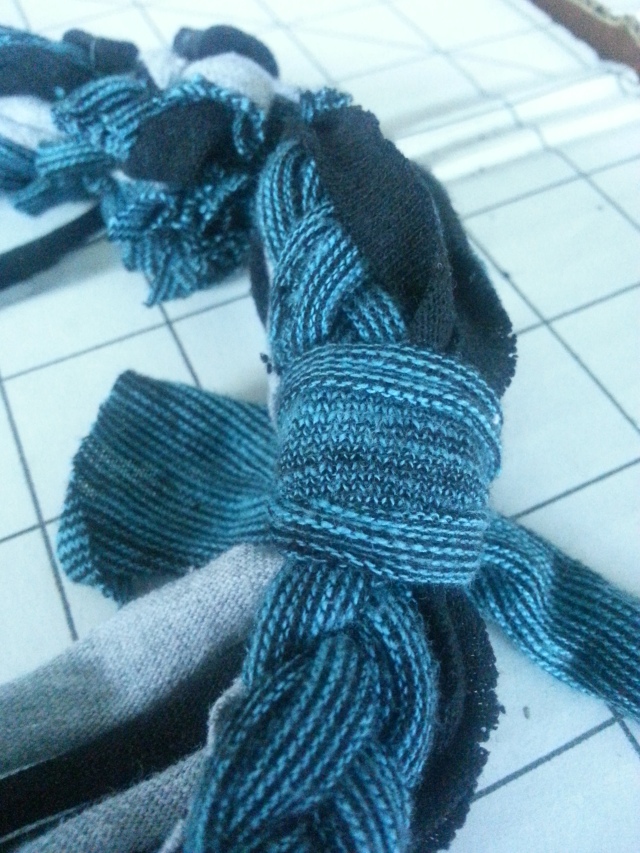
Use one of the strands to roll up until it forms a flower. Hot glue the flower as it takes shape to keep it in place. Take a small piece of leftover fabric and hot glue the flower to the piece of fabric and then wrap that around the necklace and glue it into place.
More Ways to Recycle Textiles:
- Old clothes: Cut them into rags, make a quilt, or use them for sewing projects like tote bags or pet beds.
- Bed sheets: Repurpose them as curtains, tablecloths, or drop cloths for painting projects.
Repurpose and Reuse Glass Jars for Pretty Storage
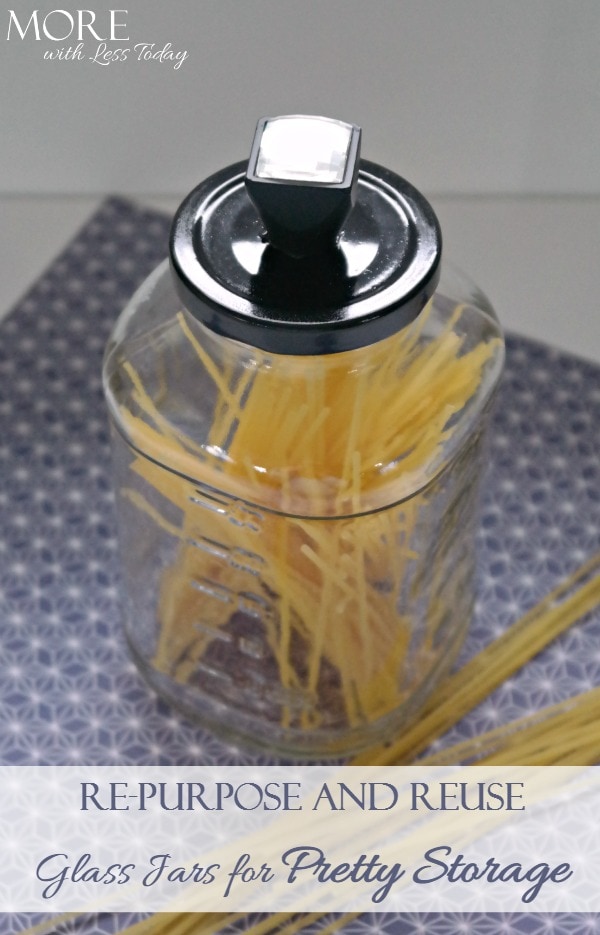
Repurpose and Reuse Glass Jars for Pretty Storage
We used a cabinet knob, spray paint, and an all-purpose adhesive.
More Ways to Repurpose Containers:
- Glass jars: These are versatile and can be used for storage, organization, candles, or even planters.
- Plastic containers: Use them for storing dry goods, craft supplies, or organizing small items in drawers.
- Tin cans: Paint them and use them as pen holders, planters, or utensil holder

These are some inexpensive succulents that I bought and added to glass jars. I love how they look on my bookshelves.
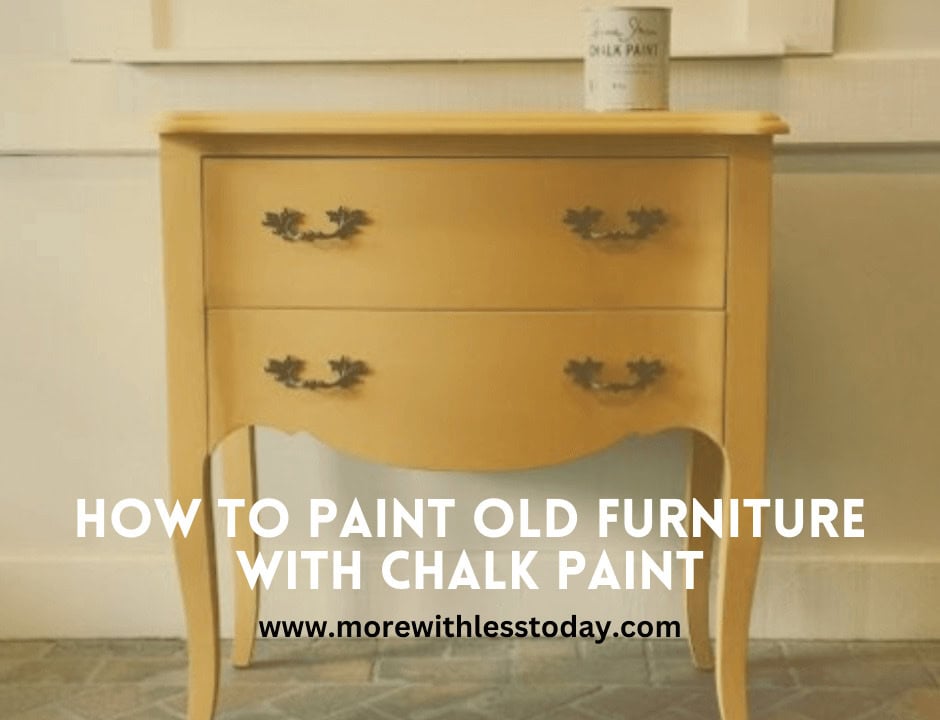
I revived this piece with chalk paint. See how I did it here.
Give furniture a new look:
- Paint or stain old furniture: This can completely transform a piece and give it a fresh, modern look.
- Repurpose furniture: An old dresser can become a media console, a nightstand can become a side table, or a door can become a headboard.
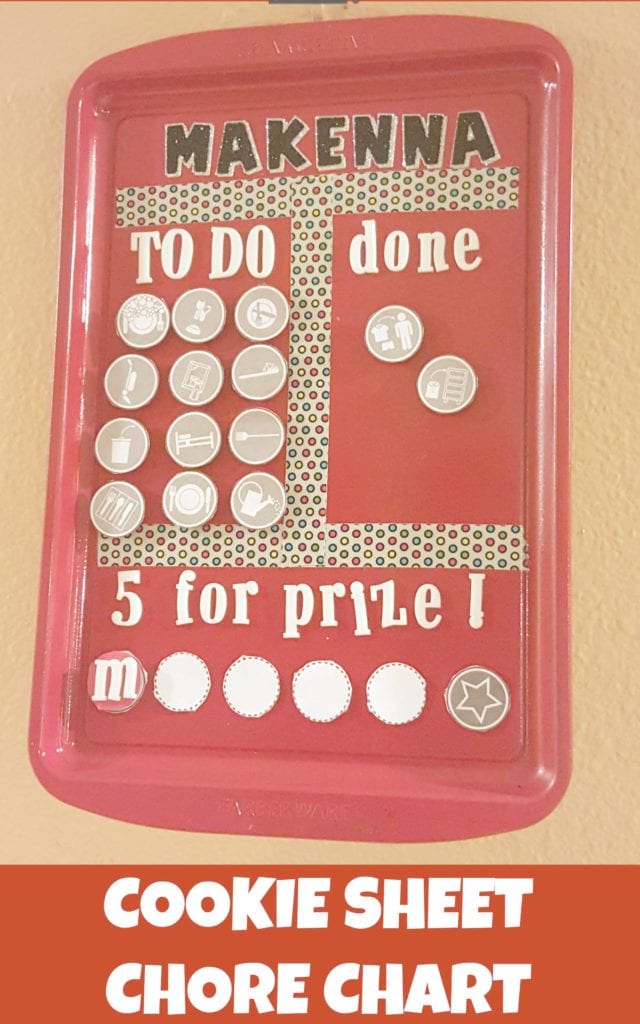
Kids Chore Chart from a Cookie Sheet
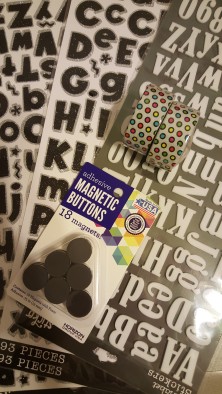
You will need:
Cookie Sheet – avoid non-stick pans (see tips below) You can test your pan with a magnet first. Aluminum pans are not magnetic.
- Spray Paint
- Washi Tape
- Alphabet Stickers
- Magnets (recommend Adhesive)
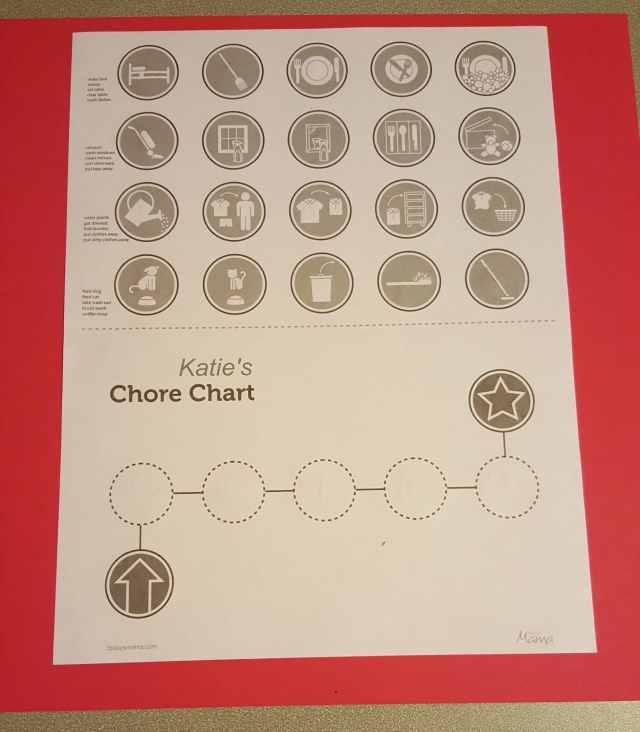
- Printable Chart Pieces
- Glue
- Scissors
How To Make a Kids Chore Chart from a Cookie Sheet
Spell out the name with stickers on the top middle of the cookie sheet. Then use patterned washi tape to make the divisions for both a “To Do” and “Done” column, plus add the reward area at the bottom. We chose five chores to earn a reward, but you can customize this for your child.

Creating a Family Command Center
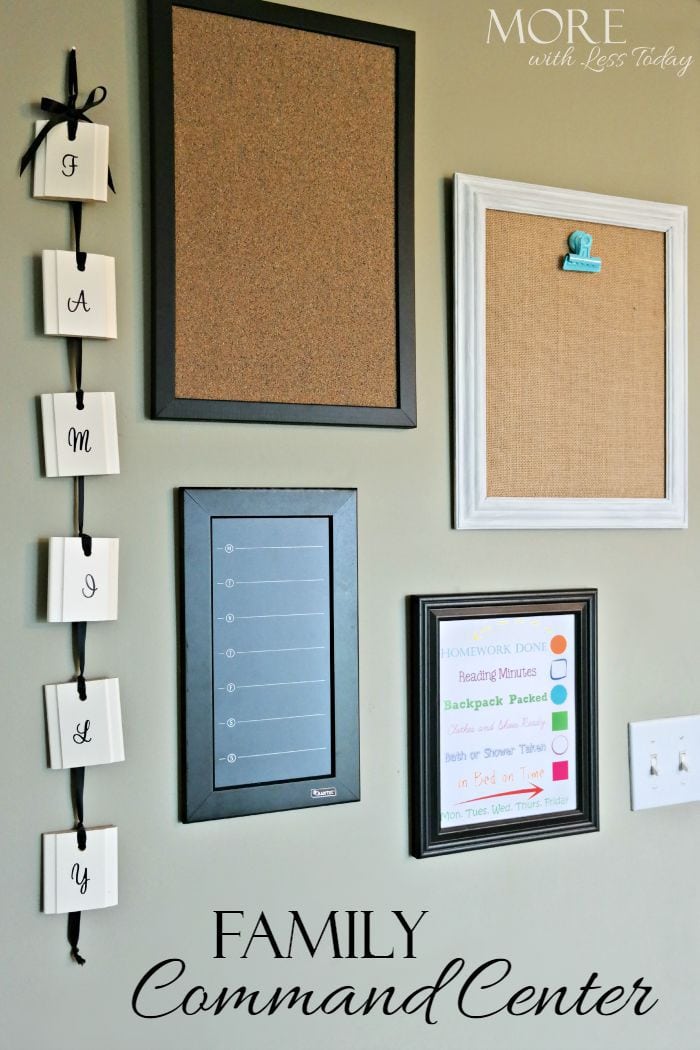
Creating a Family Command Center
You can make a dry-erase board from an old picture frame or a chalkboard using chalkboard paint. A board framed is also good for pinning up notices and important papers.
HOME DIY Letter Decor
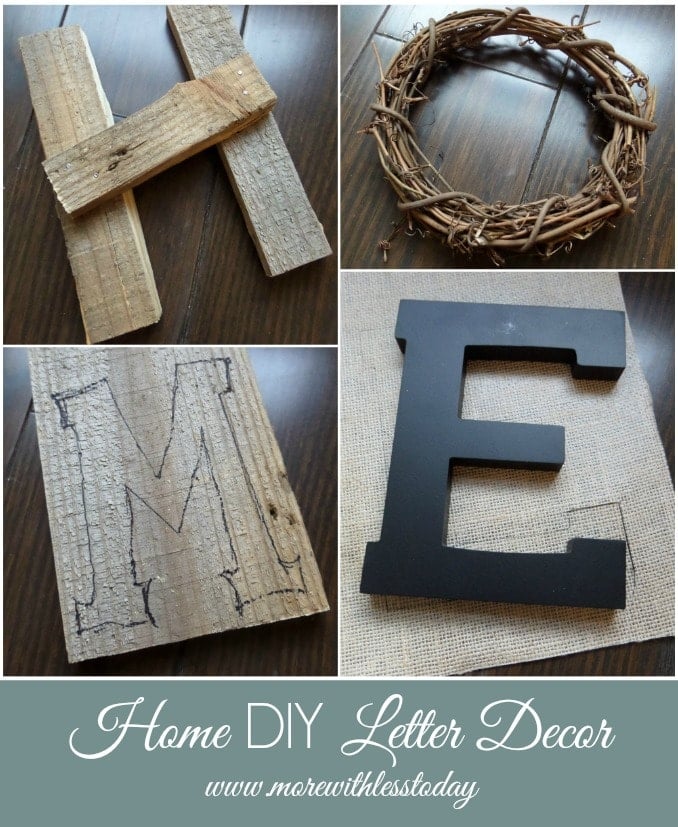
Supplies:
- Scrap wood or pallet pieces for letters H and M
- paint
- paint brush
- wooden letter E
- small grapevine wreath for the letter O
- burlap sheet
- small trim nails
- craft glue
- scissors

You could make many variations of this craft for holidays or different spaces – FALL – SNOW – HOPE – GIVE. What word would you make for your home decor?
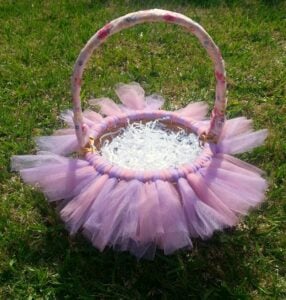
DIY Goodwill Easter Basket Fit For a Princess
A basket with open weaving will work best. We used 2 spools of tulle which were 20 yards each. We cut 34 strips of purple tulle and 34 strips of pink tulle. Depending on the size of your basket, you may need a little more or less.
Cut the tulle to 6″ x 12″ (use as many colors as you want). Using two pieces of the cut tulle, fold in half horizontally twice to make a skinny long piece. Then fold the piece in half horizontally.
Take the folded side of the tulle and push through a hole in the basket (if necessary use a tool to push through tight woven baskets)
Make a slip knot. Do this by finding the hole near the folded side of the tulle, pull the other end of the tulle through the hole to make a knot. (Make sure the excess tulle hangs on the outside of the basket). Placing the knots close together, repeat until the whole basket is covered in tulle slip knots.

Wrap the handle with a pretty ribbon. and secure with a little hot glue on the bottom side of the handle so that it does not show.
Working with Mod Podge is easy, messy, and fun. You don’t have to be precise to have your project turn out great!
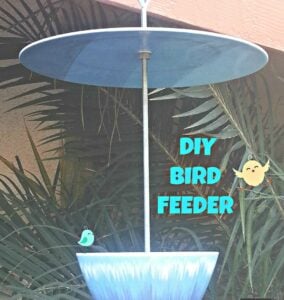
DIY Bird Feeder
Having a bird feeder is a great way to get to know the native birds and have your porch or yard become a regular place for them to dine. Enjoy the outdoors right outside your window with this DIY bird feeder you can make with items from the thrift store.
What You Need
- Melamine Plate
- Melamine Bowl
- 1 Eyebolt 1/4 x 2 1/2
- 1 1/4″ Coupling Nut
- 1/4″-20 Threading Rod
- 3 1/4″ Hex Nut
- 3 1/4″ Flat Washer
- Drill Gun
Drill a hole in the middle of the plate and then the bowl. (Do this gently and slowly so that the drill does not crack the melamine)
Take the eyebolt and screw it into the coupling nut.
Take the threading rod and thread a hex nut onto it until it sits a few inches from the top. Lay the flat washer on top of the bolt.
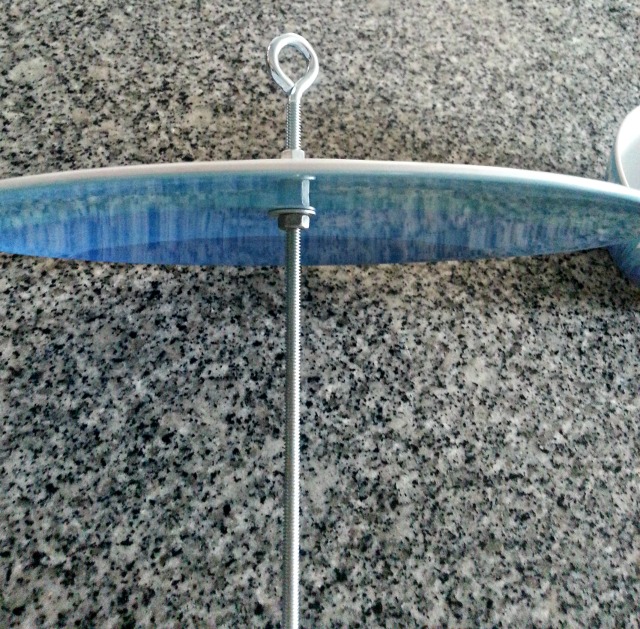
Place the plate upside down until it sits on the washer and nut.
Screw on the coupling nut to hold the plate in place.
On the other end of the threading rod, thread a hex nut and a flat washer.
Place the bowl up against the nut and washer and secure with a hex nut and flat washer on the bottom.
Make sure to tighten all bolts and nuts before hanging.
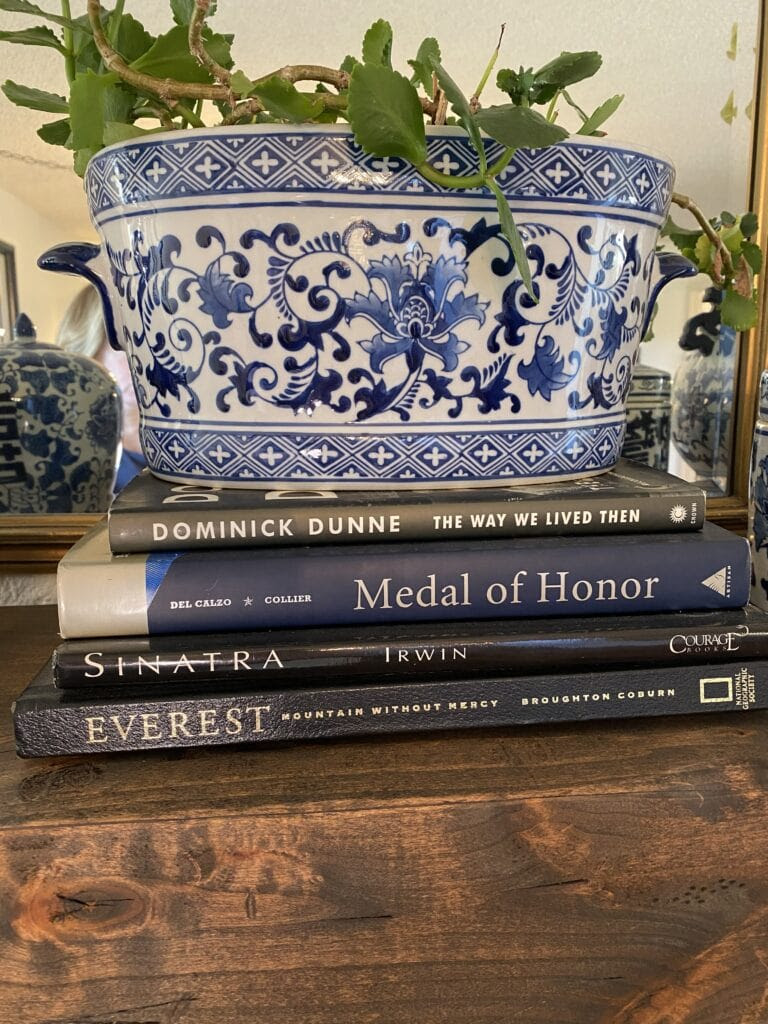
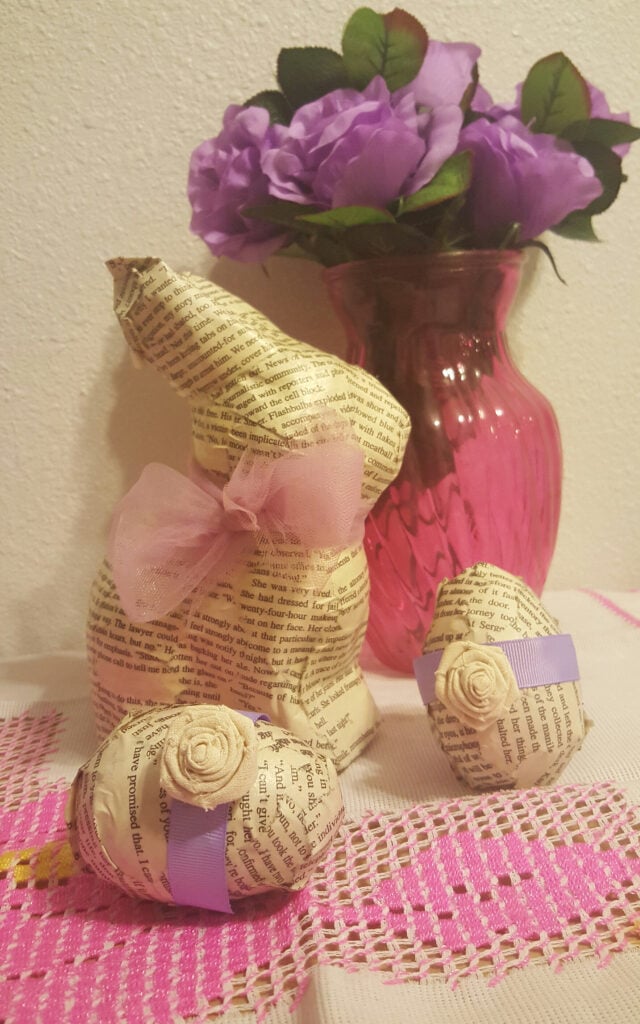
Old Books to Designer Decor
A popular designer trick is to use old books to “elevate” your decor.
Make a Vinyl Record Clock

DIY Retro Clock from an Old Vinyl Record – Rock Around the Clock!
Supplies
Vinyl record
Battery-operated clock. Flip it over and make sure it has a mechanism with a battery slot that is held in by screws. The clock should have hands for hours, minutes, and seconds.
New battery to fit in the clock’s mechanism
Numbering system. I used stencils and a paint pen but you could also use scrapbook paper, stickers, or paint.
Screwdriver
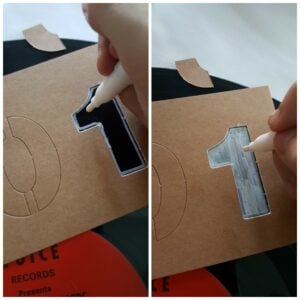
Take apart the clock so you can get to the clock’s mechanism. Use a screwdriver to remove the screws from the back of the clock. you should have a second hand, a minute hand, and an hour hand plus the back plate. If the hands get bent, just carefully bend them back into place.
Insert the clock mechanism into your vinyl record. Try to screw it in and not jam it in. If the hold is too small, use a drill bit to make the hole a little larger. Put the hands back on, put the battery in, and stand back to admire your DIY vinyl record clock!
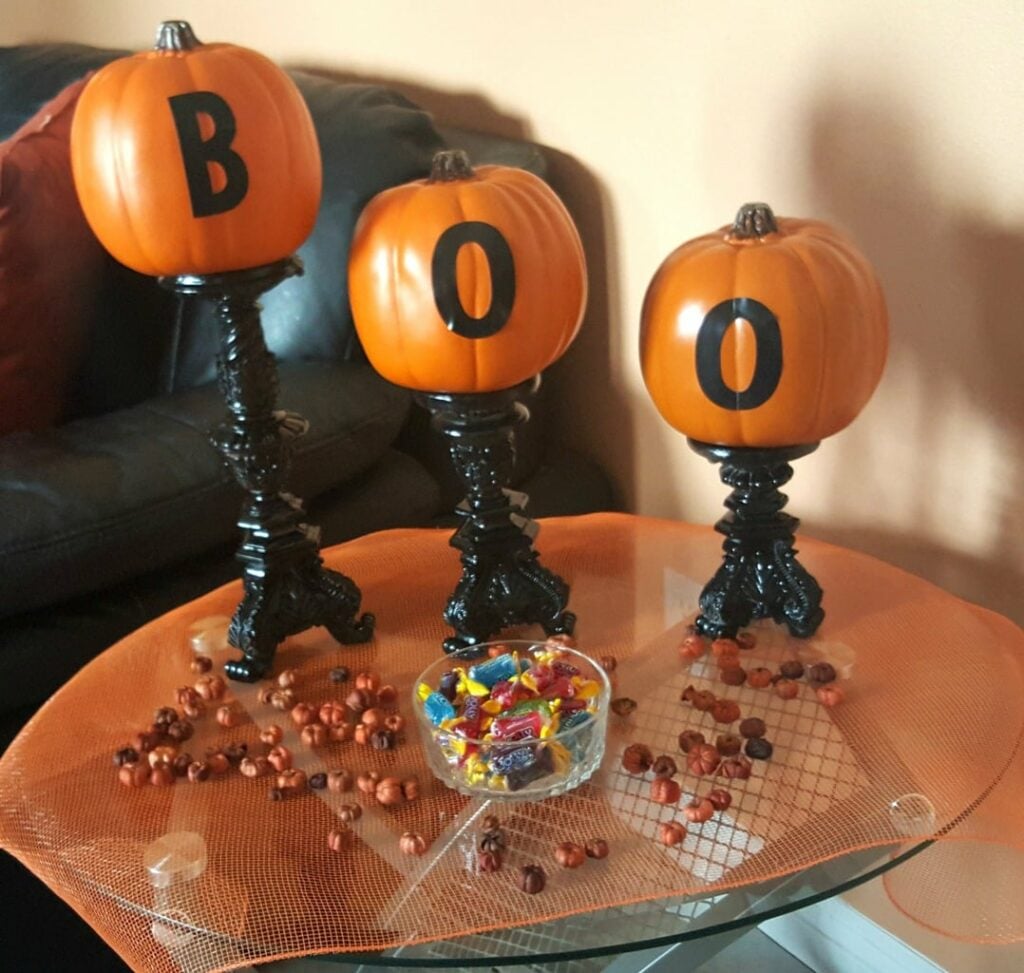
We created this easy and fun Halloween Decor; BOO Candlesticks from a thrift store find.
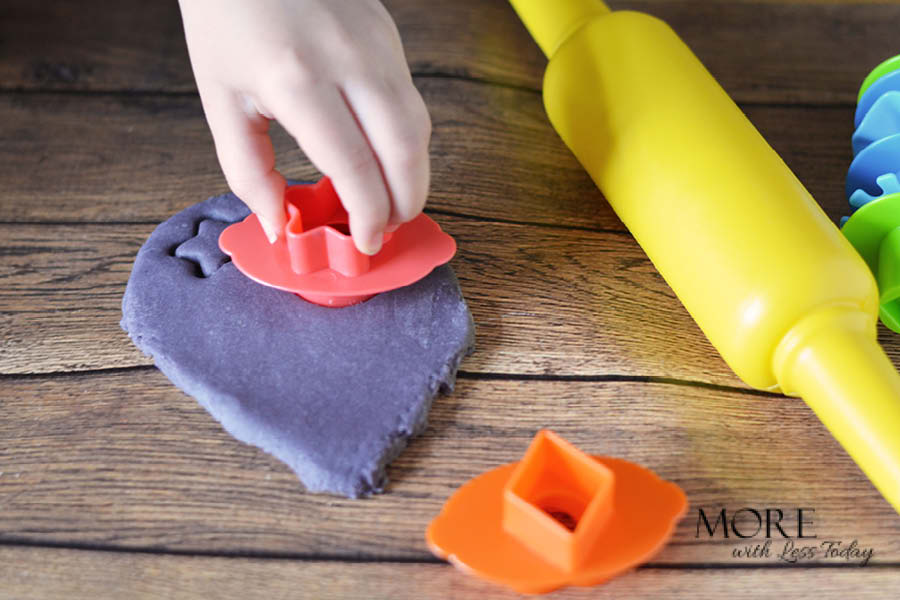
Ingredients for Homemade Play Dough
- 2 cups of boiling water
- 3 tablespoons of vegetable oil
- 1/2 cup salt
- 1 tablespoon of cream of tartar
- 2 packages (4 g) of unsweetened Kool-Aid powdered drink mix
- 2 1/2 cups flour
Directions for Making Homemade Play Dough
Weave ribbon through a square of burlap to make a pretty placemat.
Combine water, oil, salt, cream of tartar, and Kool-Aid mix in a saucepan and heat until warm.
Remove from heat and add flour. Sir, then knead until smooth and the color is well-blended. The cream of tartar is very important. That is what will make the homemade Playdough last. Store in an airtight container or a Ziploc freezer bag.
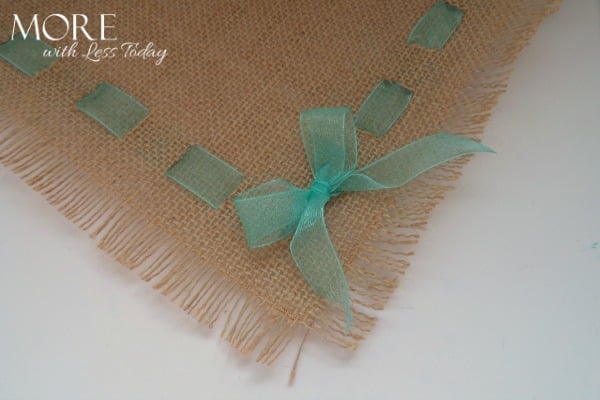
Weave ribbon through a square of burlap to make a pretty placemat.
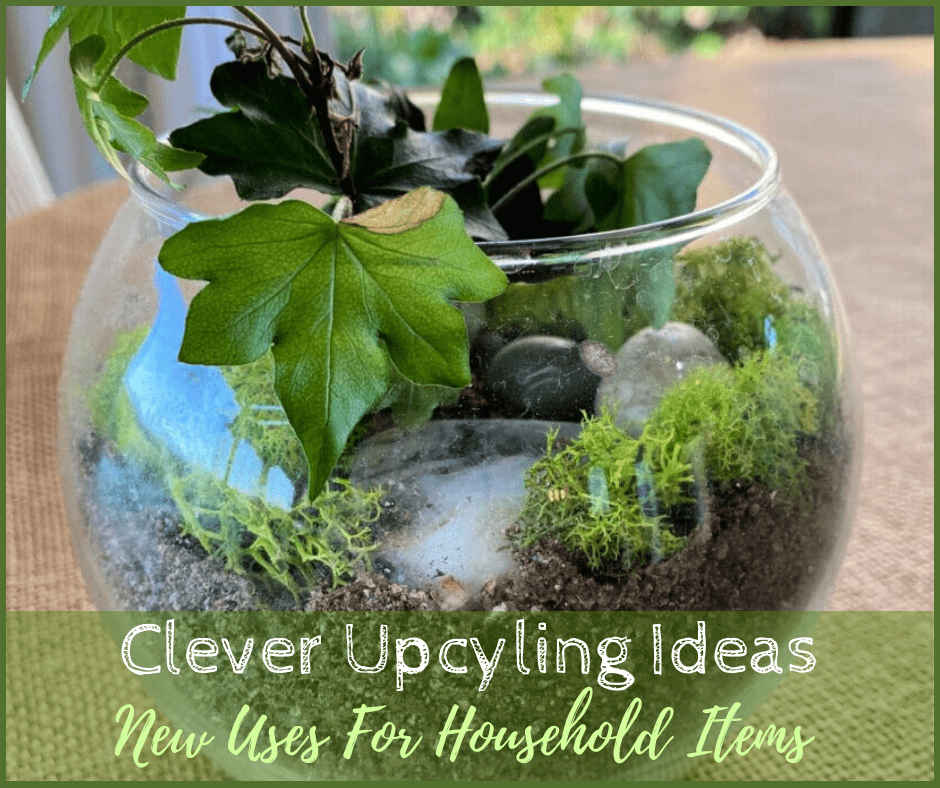
Glass Bowl to Terrarium
Turn a glass bowl into a terrarium. Just add dirt, pebbles, and a small plant. Mine has been going strong for several months now.
Brown Paper Bags To Dry Wet Shoes
There are so many different uses for brown paper bags. Keep a stash handy. My favorite is to use them to dry wet shoes on rainy days. Crumple up parts of the paper bags and stuff them into your wet shoes. They will absorb the moisture and help them dry faster.
Some people also like to use newspapers for this purpose, but a newspaper could leave ink marks on your shoes.
Label Cords With Bread Tags
Those square plastic bread tags are excellent at labeling cords. Just use a permanent marker to write the name of the electronic it belongs to and clip it to the cord. Easy!
Broken Pottery For Plants
Even broken pieces of pottery can be reused. Lay it on the bottom of your plant’s pot to elevate the roots. Be careful not to cover up the drainage hole. Put the broken pottery on the bottom before you add the dirt. Your plants will be able to access the water so much better now.
Dish Rack to File Folder
Take an unused dish rack and turn it into a file folder. The cutlery holder can become a pen and pencil holder. Spray-paint it if you want to!
Paper Towel Holder to Store Bracelets
Repurpose a paper towel holder to stack your bracelets and you can see them at a glance.
Old Photo Frame to Decorative Tray
Add some pretty wrapping paper under the glass of an old photo frame to make a decorative tray.
Turn an Old Bread Box into a Charging Station
Drill holes in the back of an old bread box and you can conceal those ugly chargers plus have a home for your devices with their chargers.
Cheese Grater to Earring Holder
Clean and spray paint an old cheese grater and use it to display your earrings.
Pool Noodles to Fill Tall Boots
Cut old pool noodles to fit inside your tall boots and see them stand up tall. I have also done this with empty gift-wrapping tubes.
Ice Cube Tray to Snack Station
Fill the compartments with raisings, blueberries, grapes, Goldfish Crackers, and yummy snacks for the little ones.
Wastebasket to Wrapping Paper Storage
Use an old small wastebasket to store wrapping paper upright.
Mount a Wine Rack and Store Towels
Mount an old wine rack to a bathroom wall, roll up your towels, and keep them handy.
Plastic Jugs As Scoops
With a few cuts, a plastic jug can turn into a DIY shovel. You can use this for pet food, gardening, or for a fun beach toy.
First, completely clean and dry your gallon or half-gallon jug. Then, poke two holes in it. One hole should be 2 inches below the handle, the other on the opposite side, about an inch lower.
Cut from one hole to the other to create an angeled opening. Throw away the bottom of the jug and smooth out any jagged edges.
Old Knobs Become Useful Hooks
Did you recently refinish some cabinets and replace the old knobs? Save them! You can use them as a decorative rack for your keys or scarves. It’s so easy.
To create a DIY scarf organizer, you first have to remove the flat screws from the back of the knob. At this point, you can either spray-paint them or leave them as they are. Then, find something to attach the hooks to. A wooden board or piece of molding works great. On your board, make some holes with a screwdriver and a pointed screw that is the same size as the screw on the knob. Then, push the knobs’ falt screws through these holes.
Twist the knobs onto the wood and attach it to the screws. Then, hang this up!
Get creative with other household items:
- Old tires: Paint them and use them as planters or outdoor seating.
- Mason jars: Turn them into light fixtures, vases, or soap dispensers.
- Wine corks: Use them as coasters, hot pads, or bulletin board pins.
- Ladders: Repurpose them as bookshelves, towel racks, or plant stands.
Upcycling Ideas Save You Money
These are just a few upcycling ideas to get you started. With a little creativity, you can upcycle almost anything in your home!
Let me know your favorite upcycling and it might appear on this list next.
More Frugal Living Tips
Are you on a quest to live better or less? I’m here to help! Here are some fantastic ways to save money and live your best life.
Save yourself time and money and stay home. Repurpose things around your home. These upcycling ideas give new life to what you might otherwise throw away.
PIN for Later
Don’t forget to share these clever Upcycling Ideas with your friends and loved ones. If you are on social media, I would love to connect with you on Facebook, Instagram, Pinterest, or Twitter. Just click on the links to visit my profile. Leave a message and I will follow you back!
Leave a Reply